For the final project I decided to work on a prototype for my “Developing Assistive Technologies” class, I have been very interested in using technology and design in order to improve the living conditions of people with disabilities and this was a good project to prototype some of these solutions.
The project consists on a new element that will be placed in the Oral Clinic for people with disabilities in the NYU Dentistry College, they have a multi-sensory room which main goal is to provide different stimuli for people with different disabilities who come to the oral center and they are feeling nervous about the procedures that are about to receive.
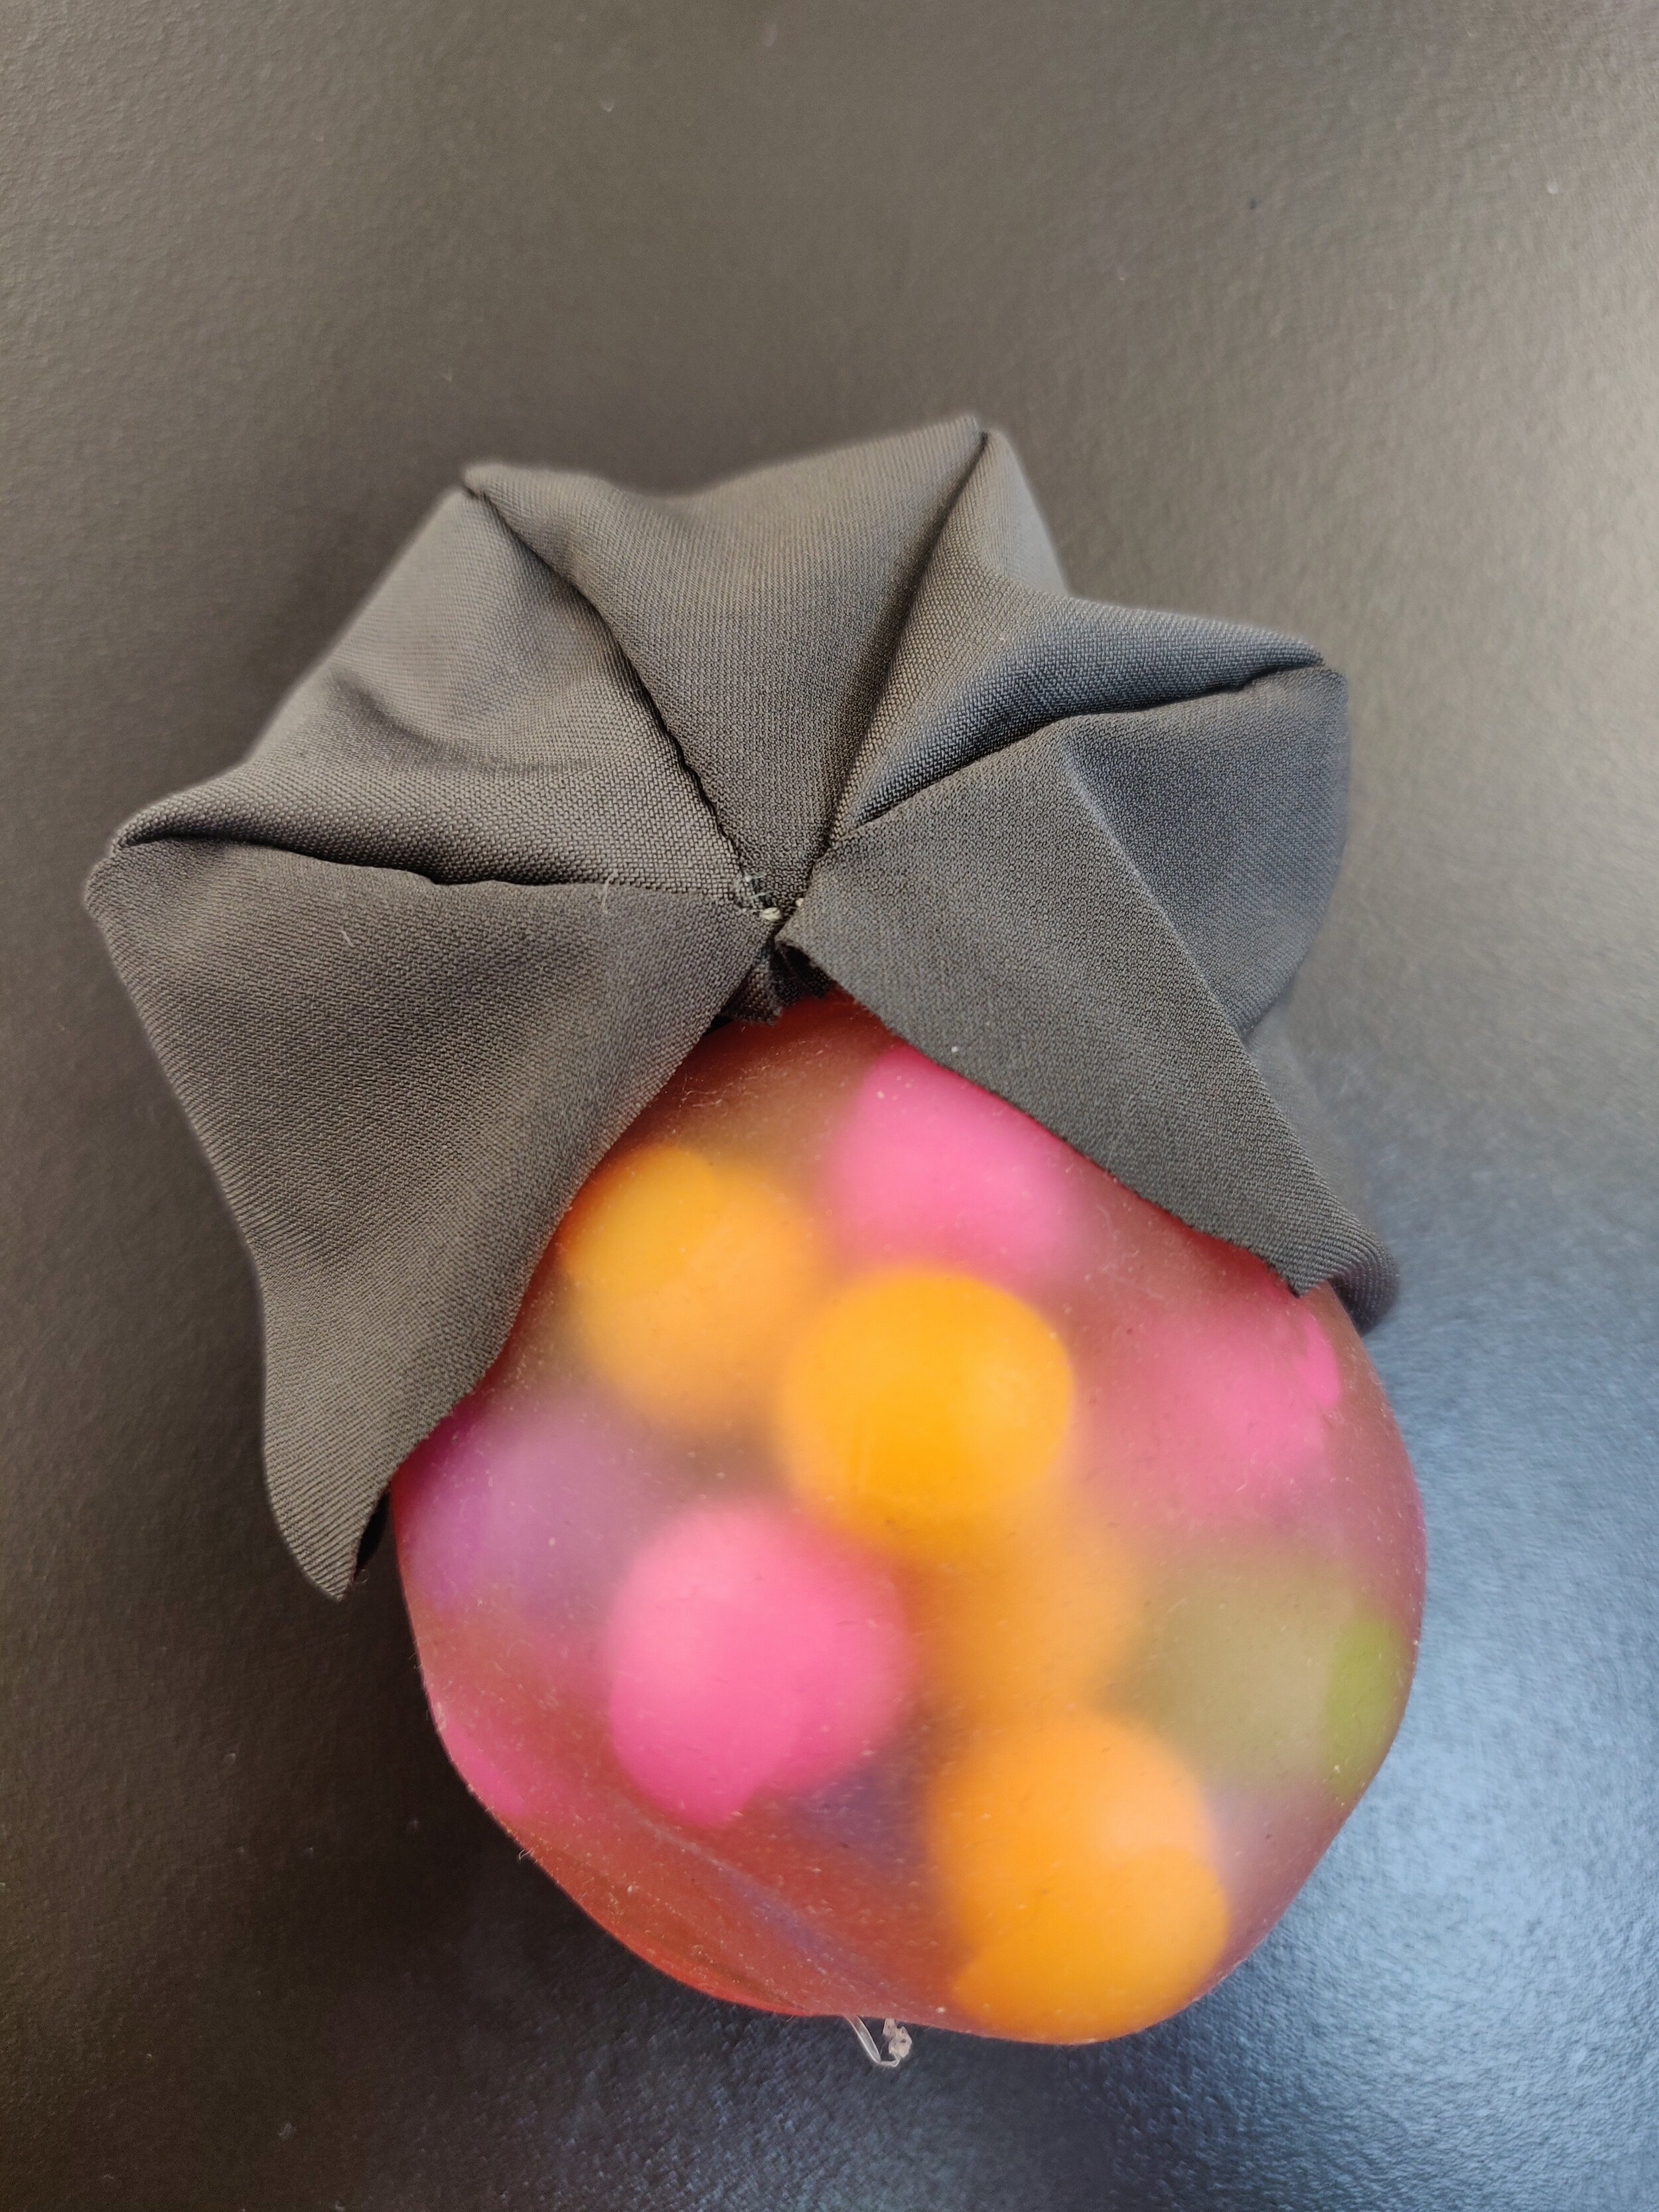
The proposal for this room is to have something that is more targeted for the tactile sense, I wanted to use a stress ball as a base, which already contains an interesting interface since it’s filled with bubbles and as the user squeezes the ball, some elements in the room are going to change, for example the luminosity in some of their light interfaces and also some of the graphics that are displayed on the projections could be changed according to how much the user squeeze the ball.
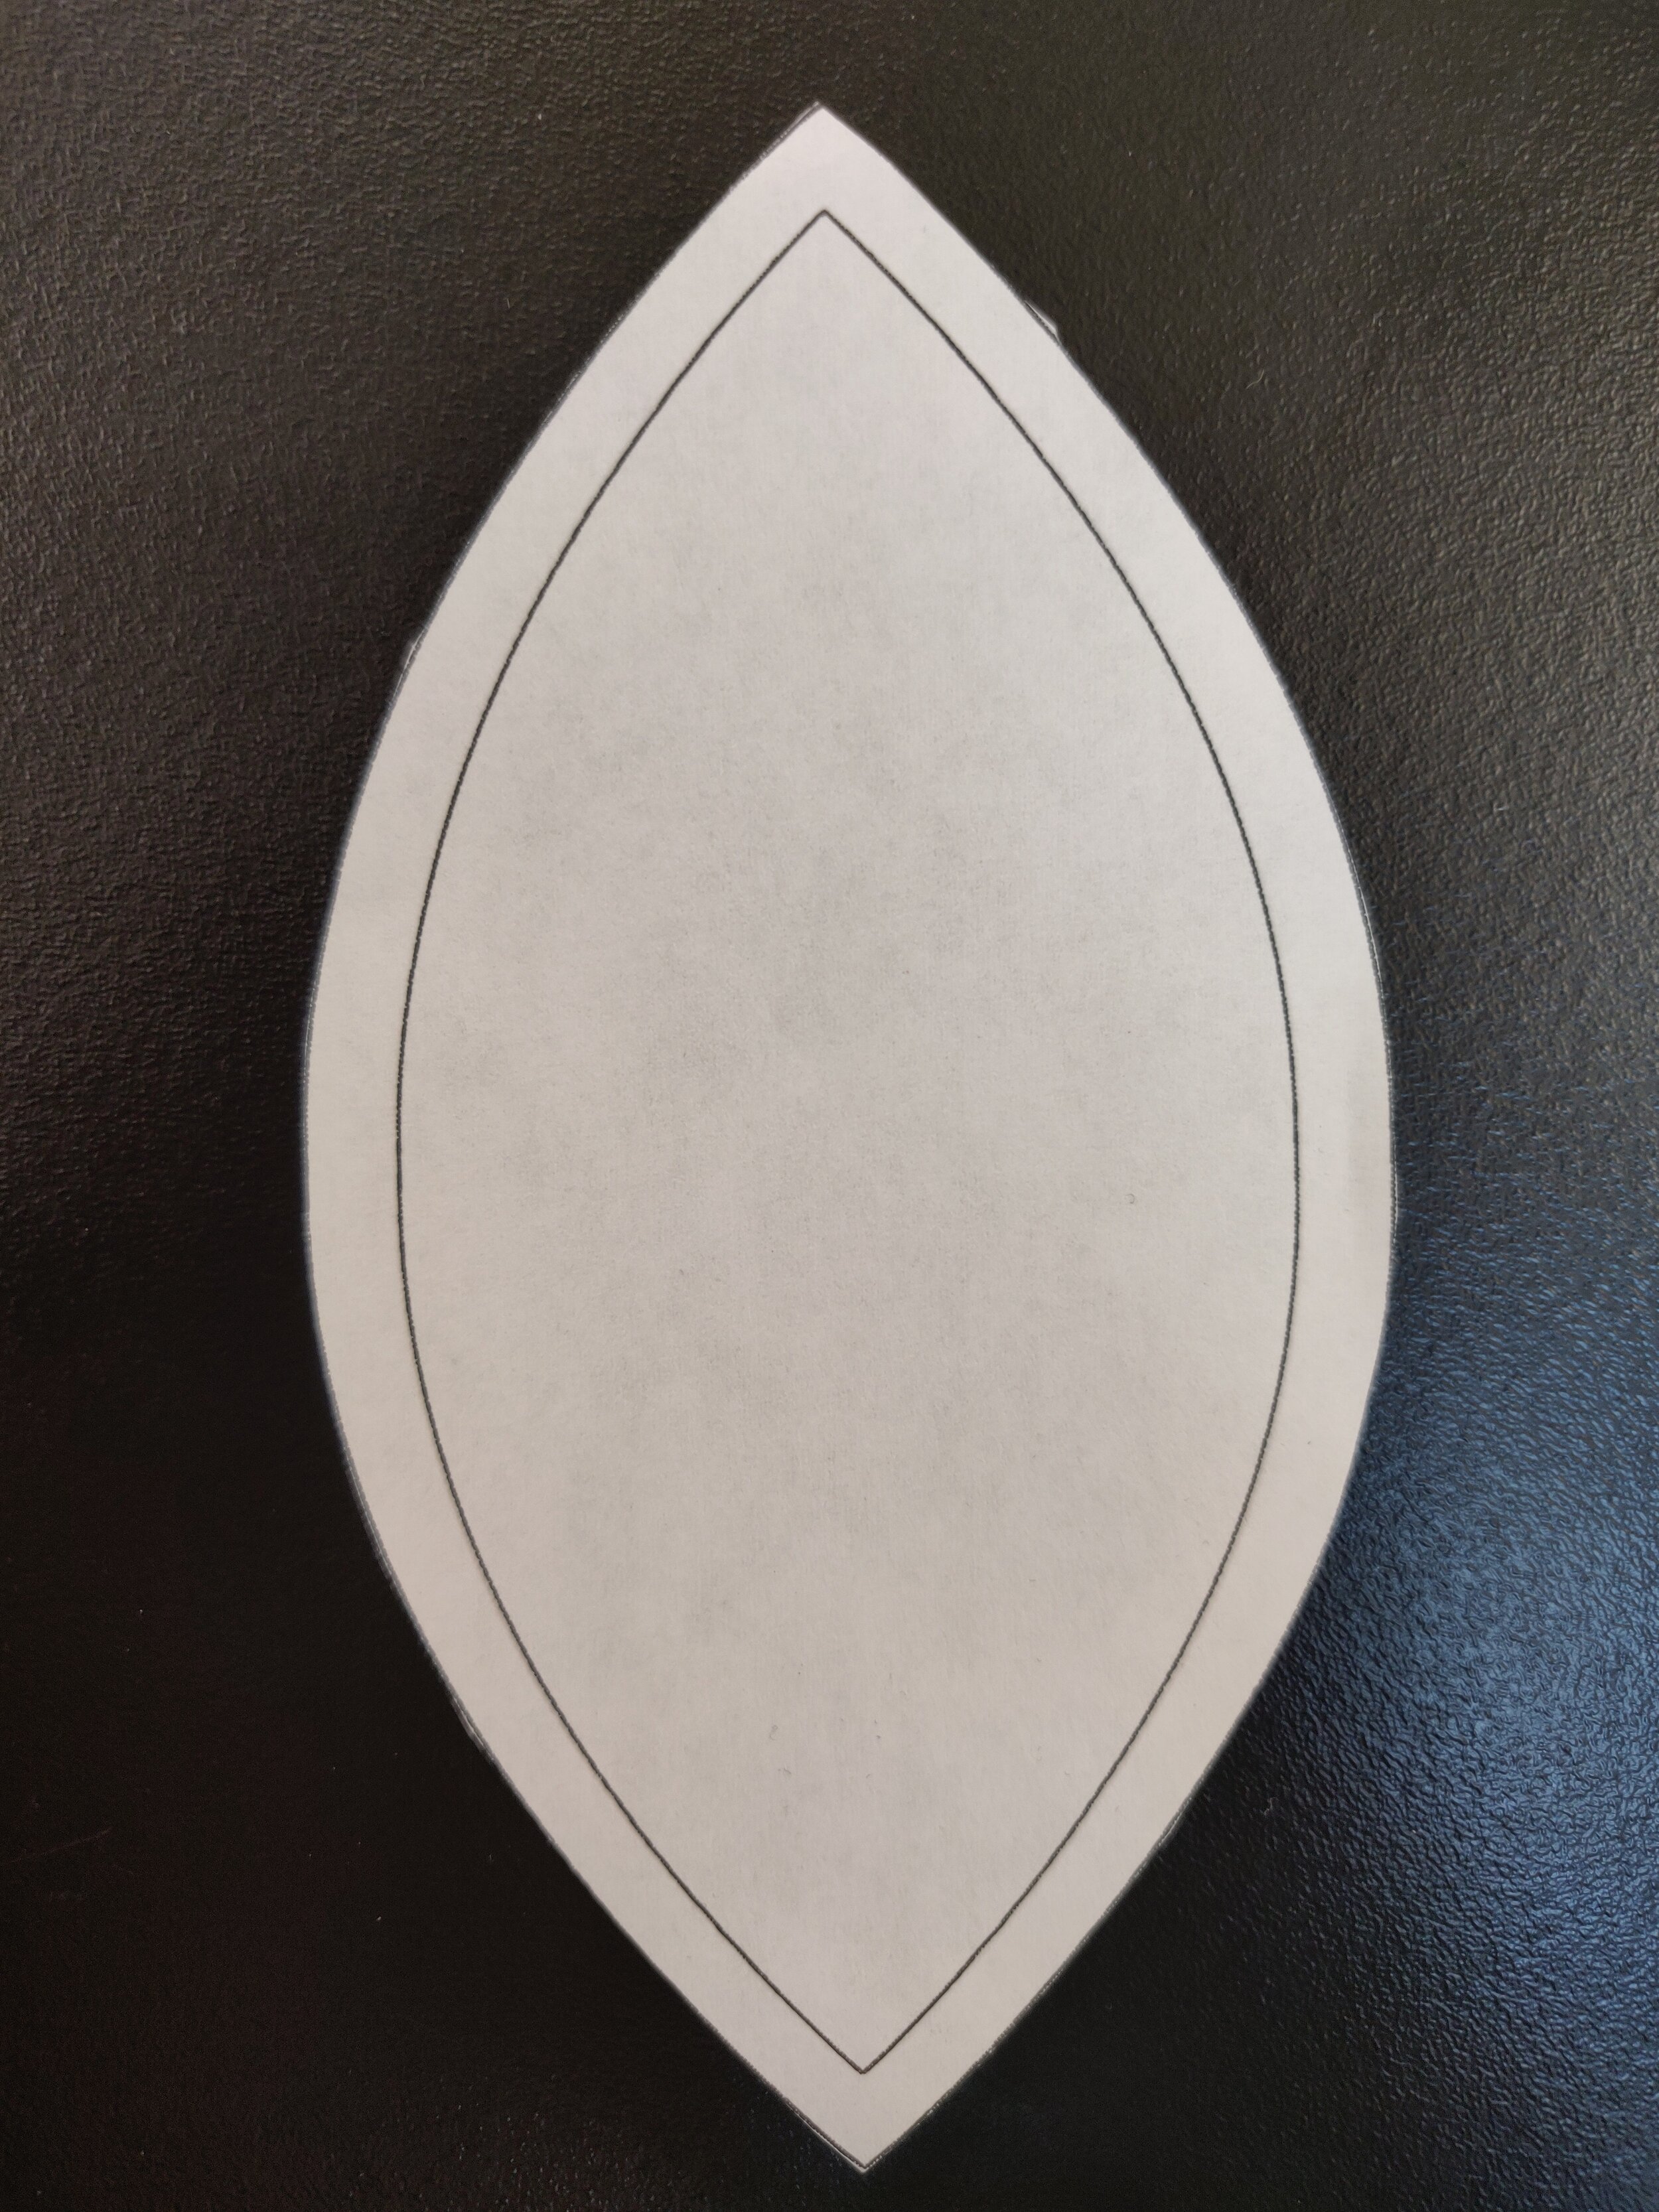
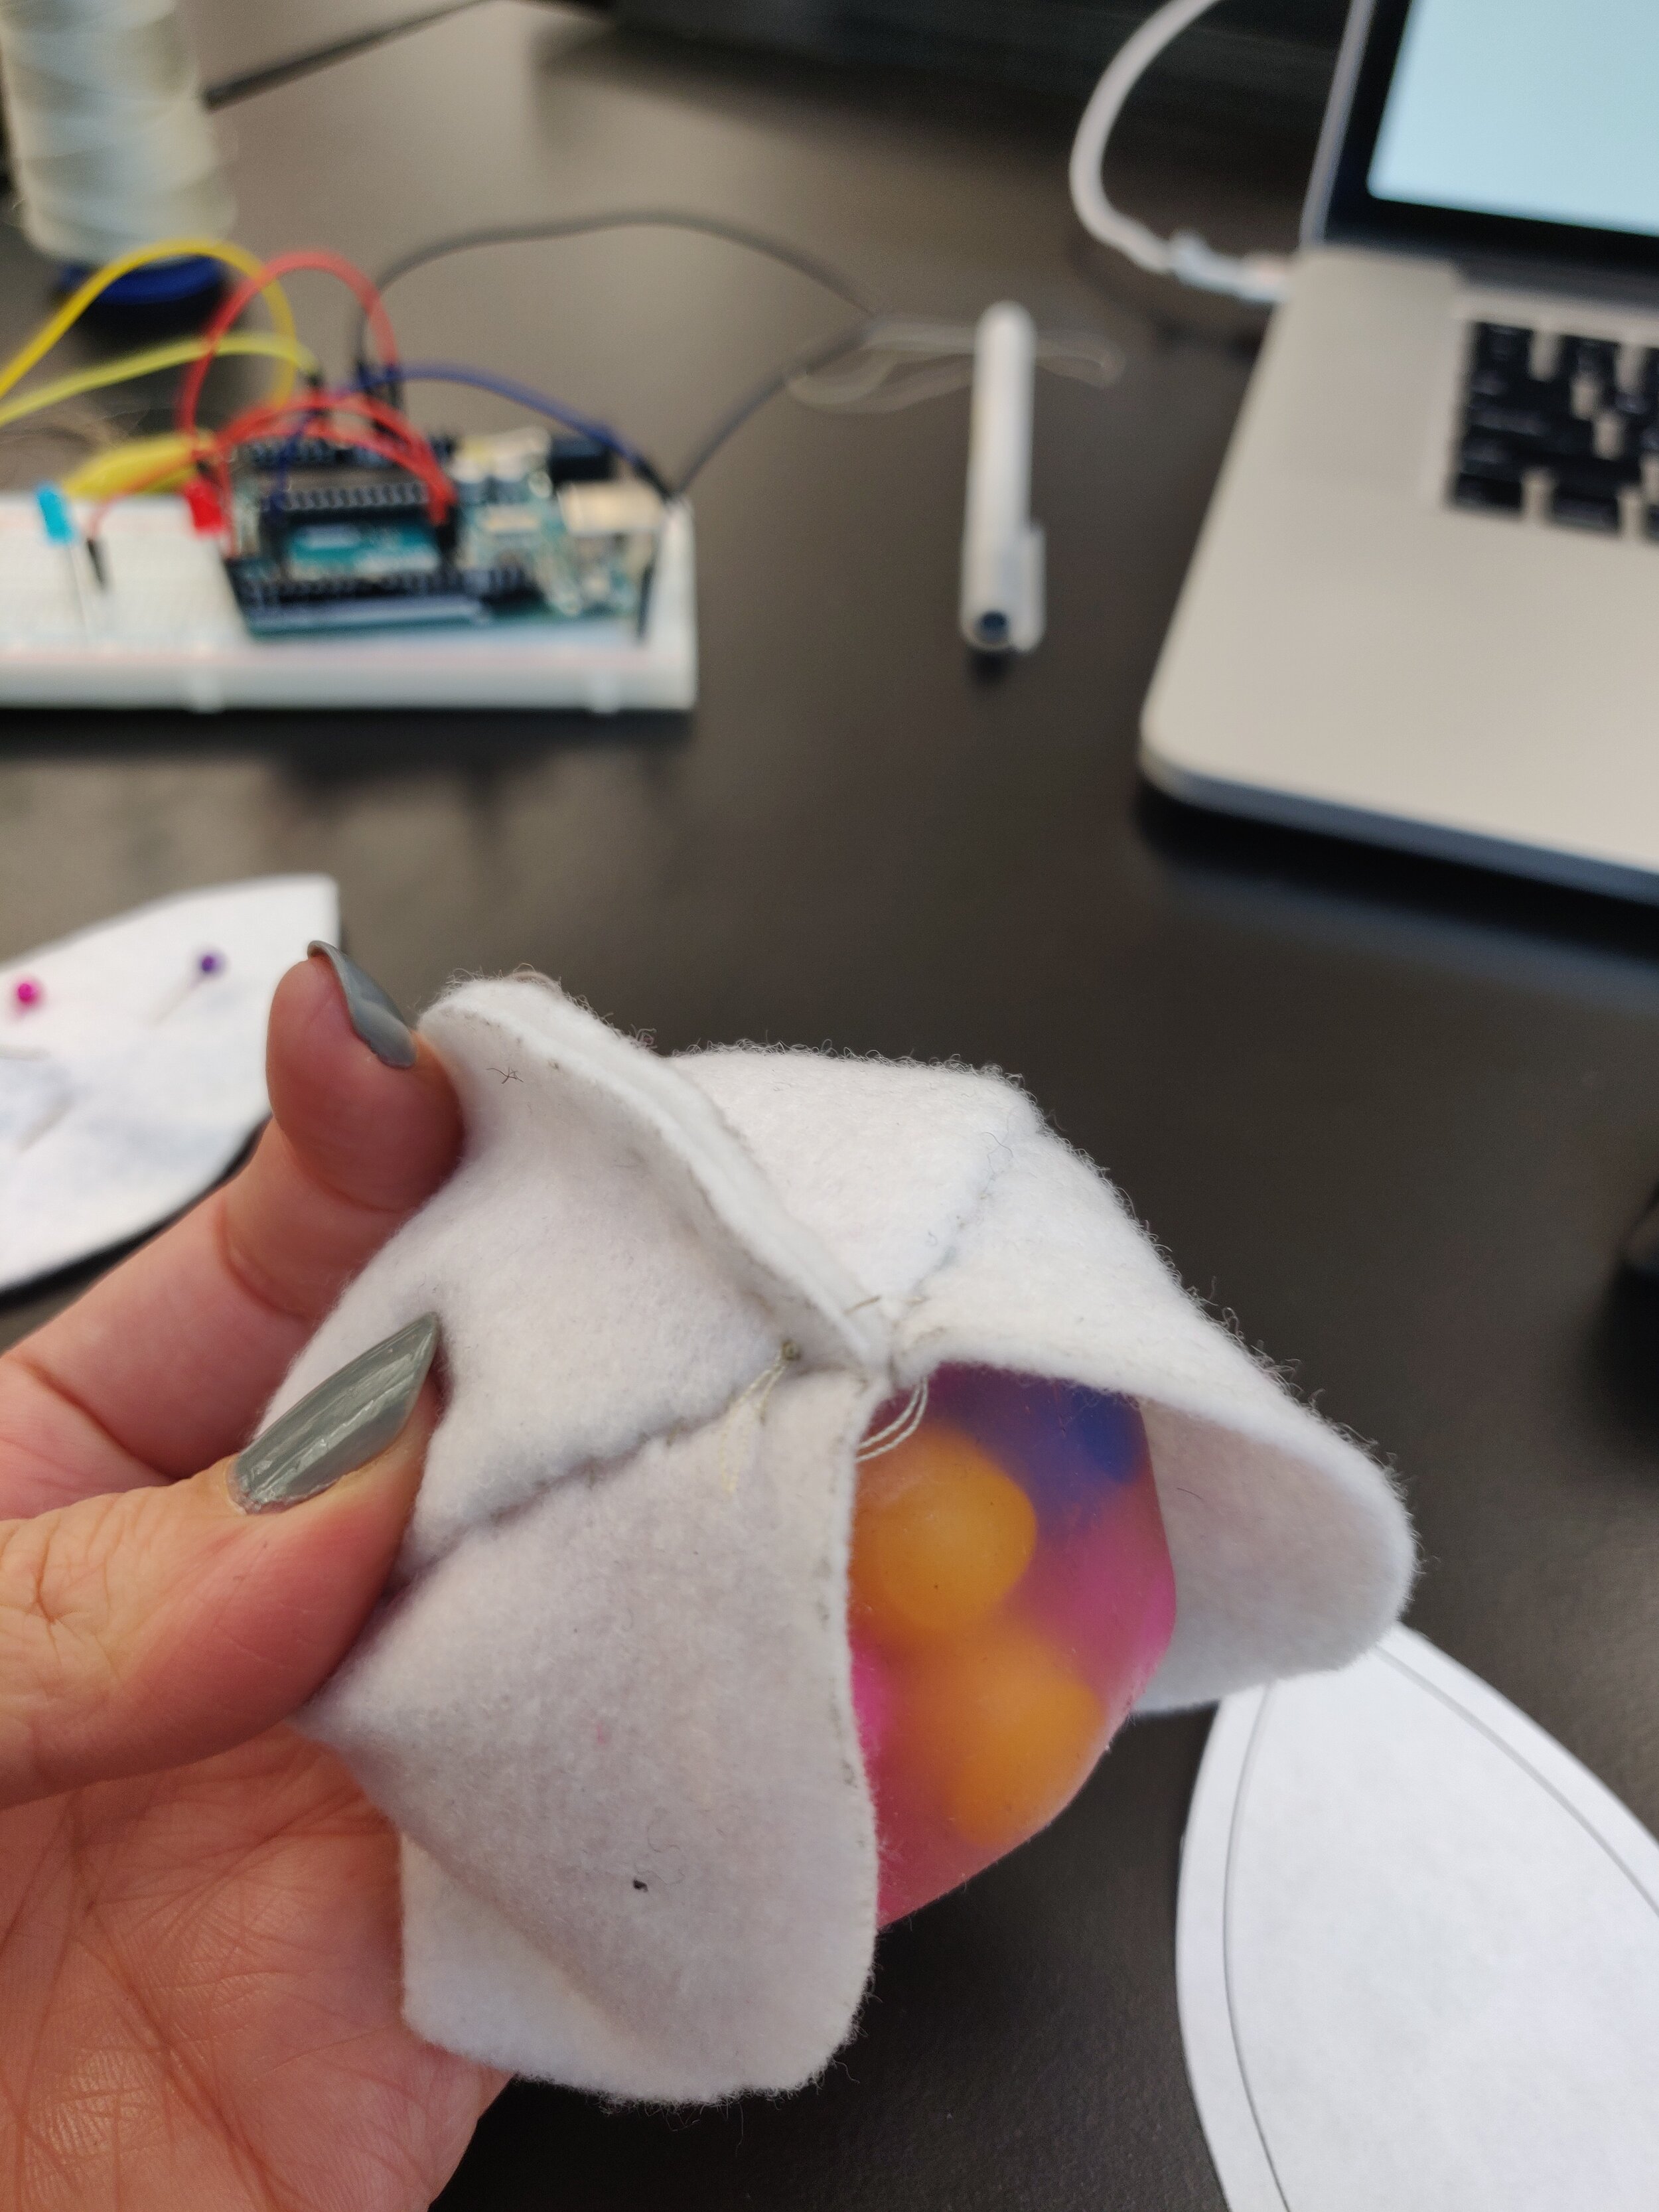
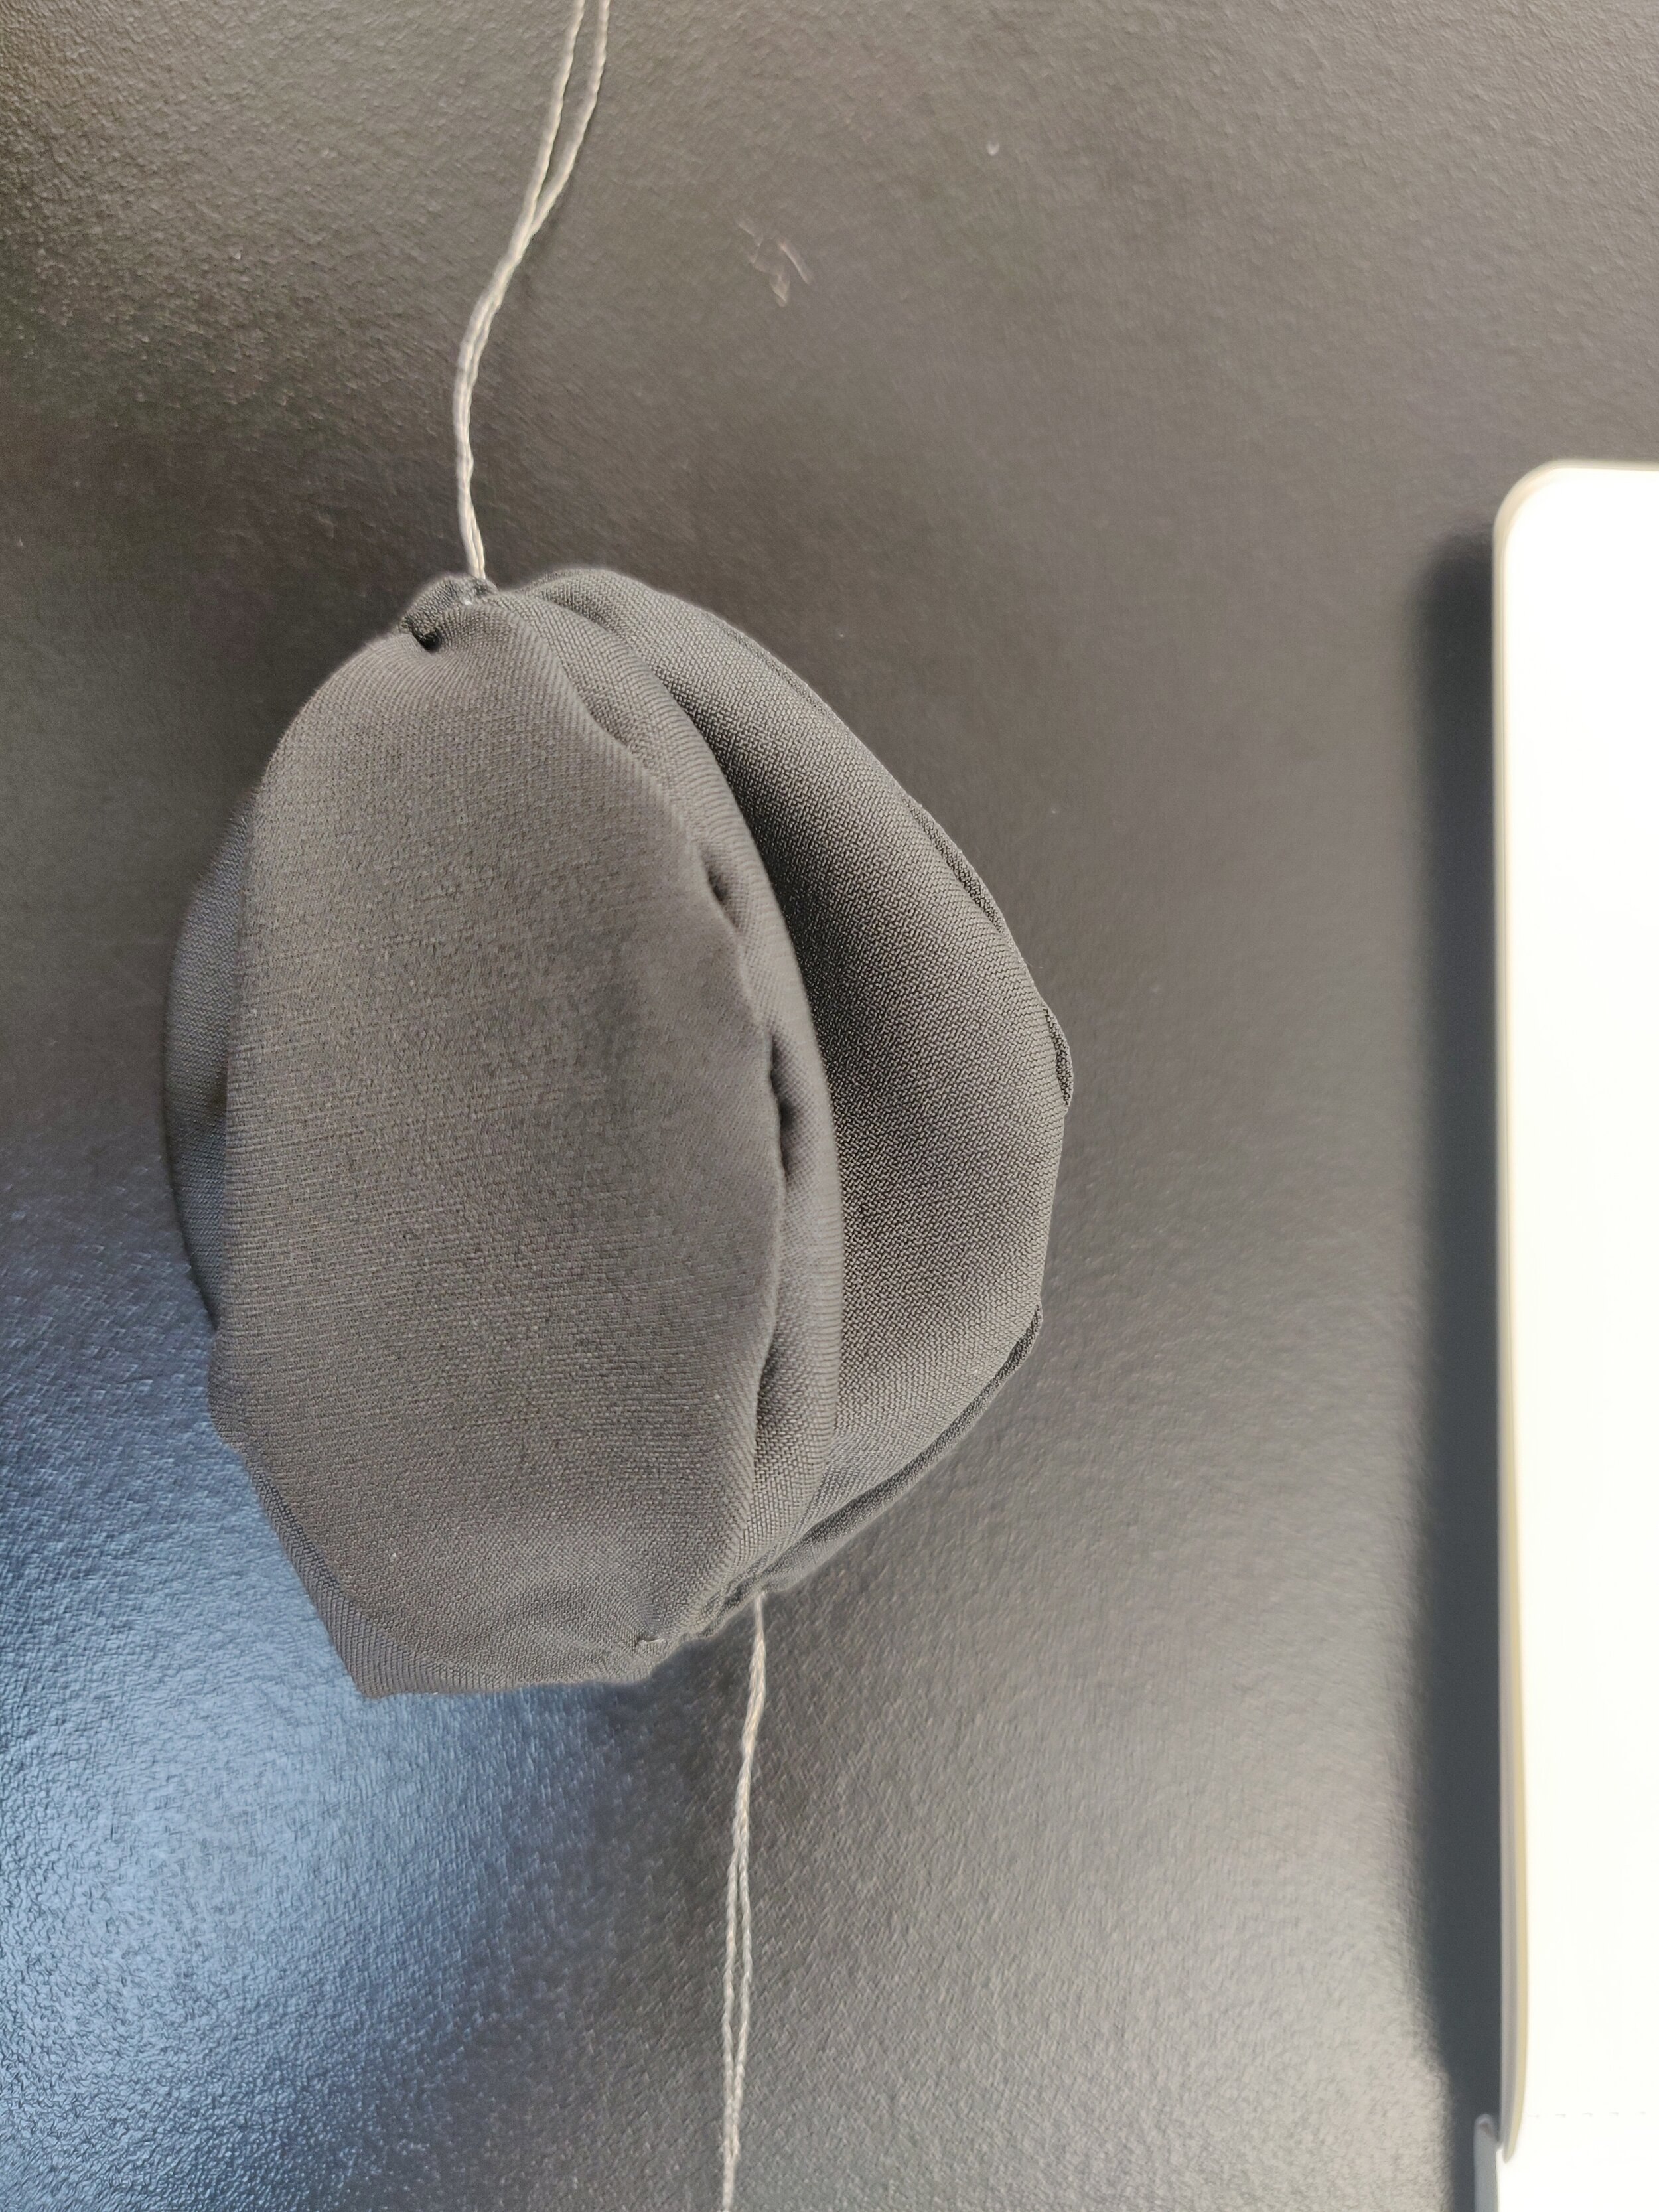
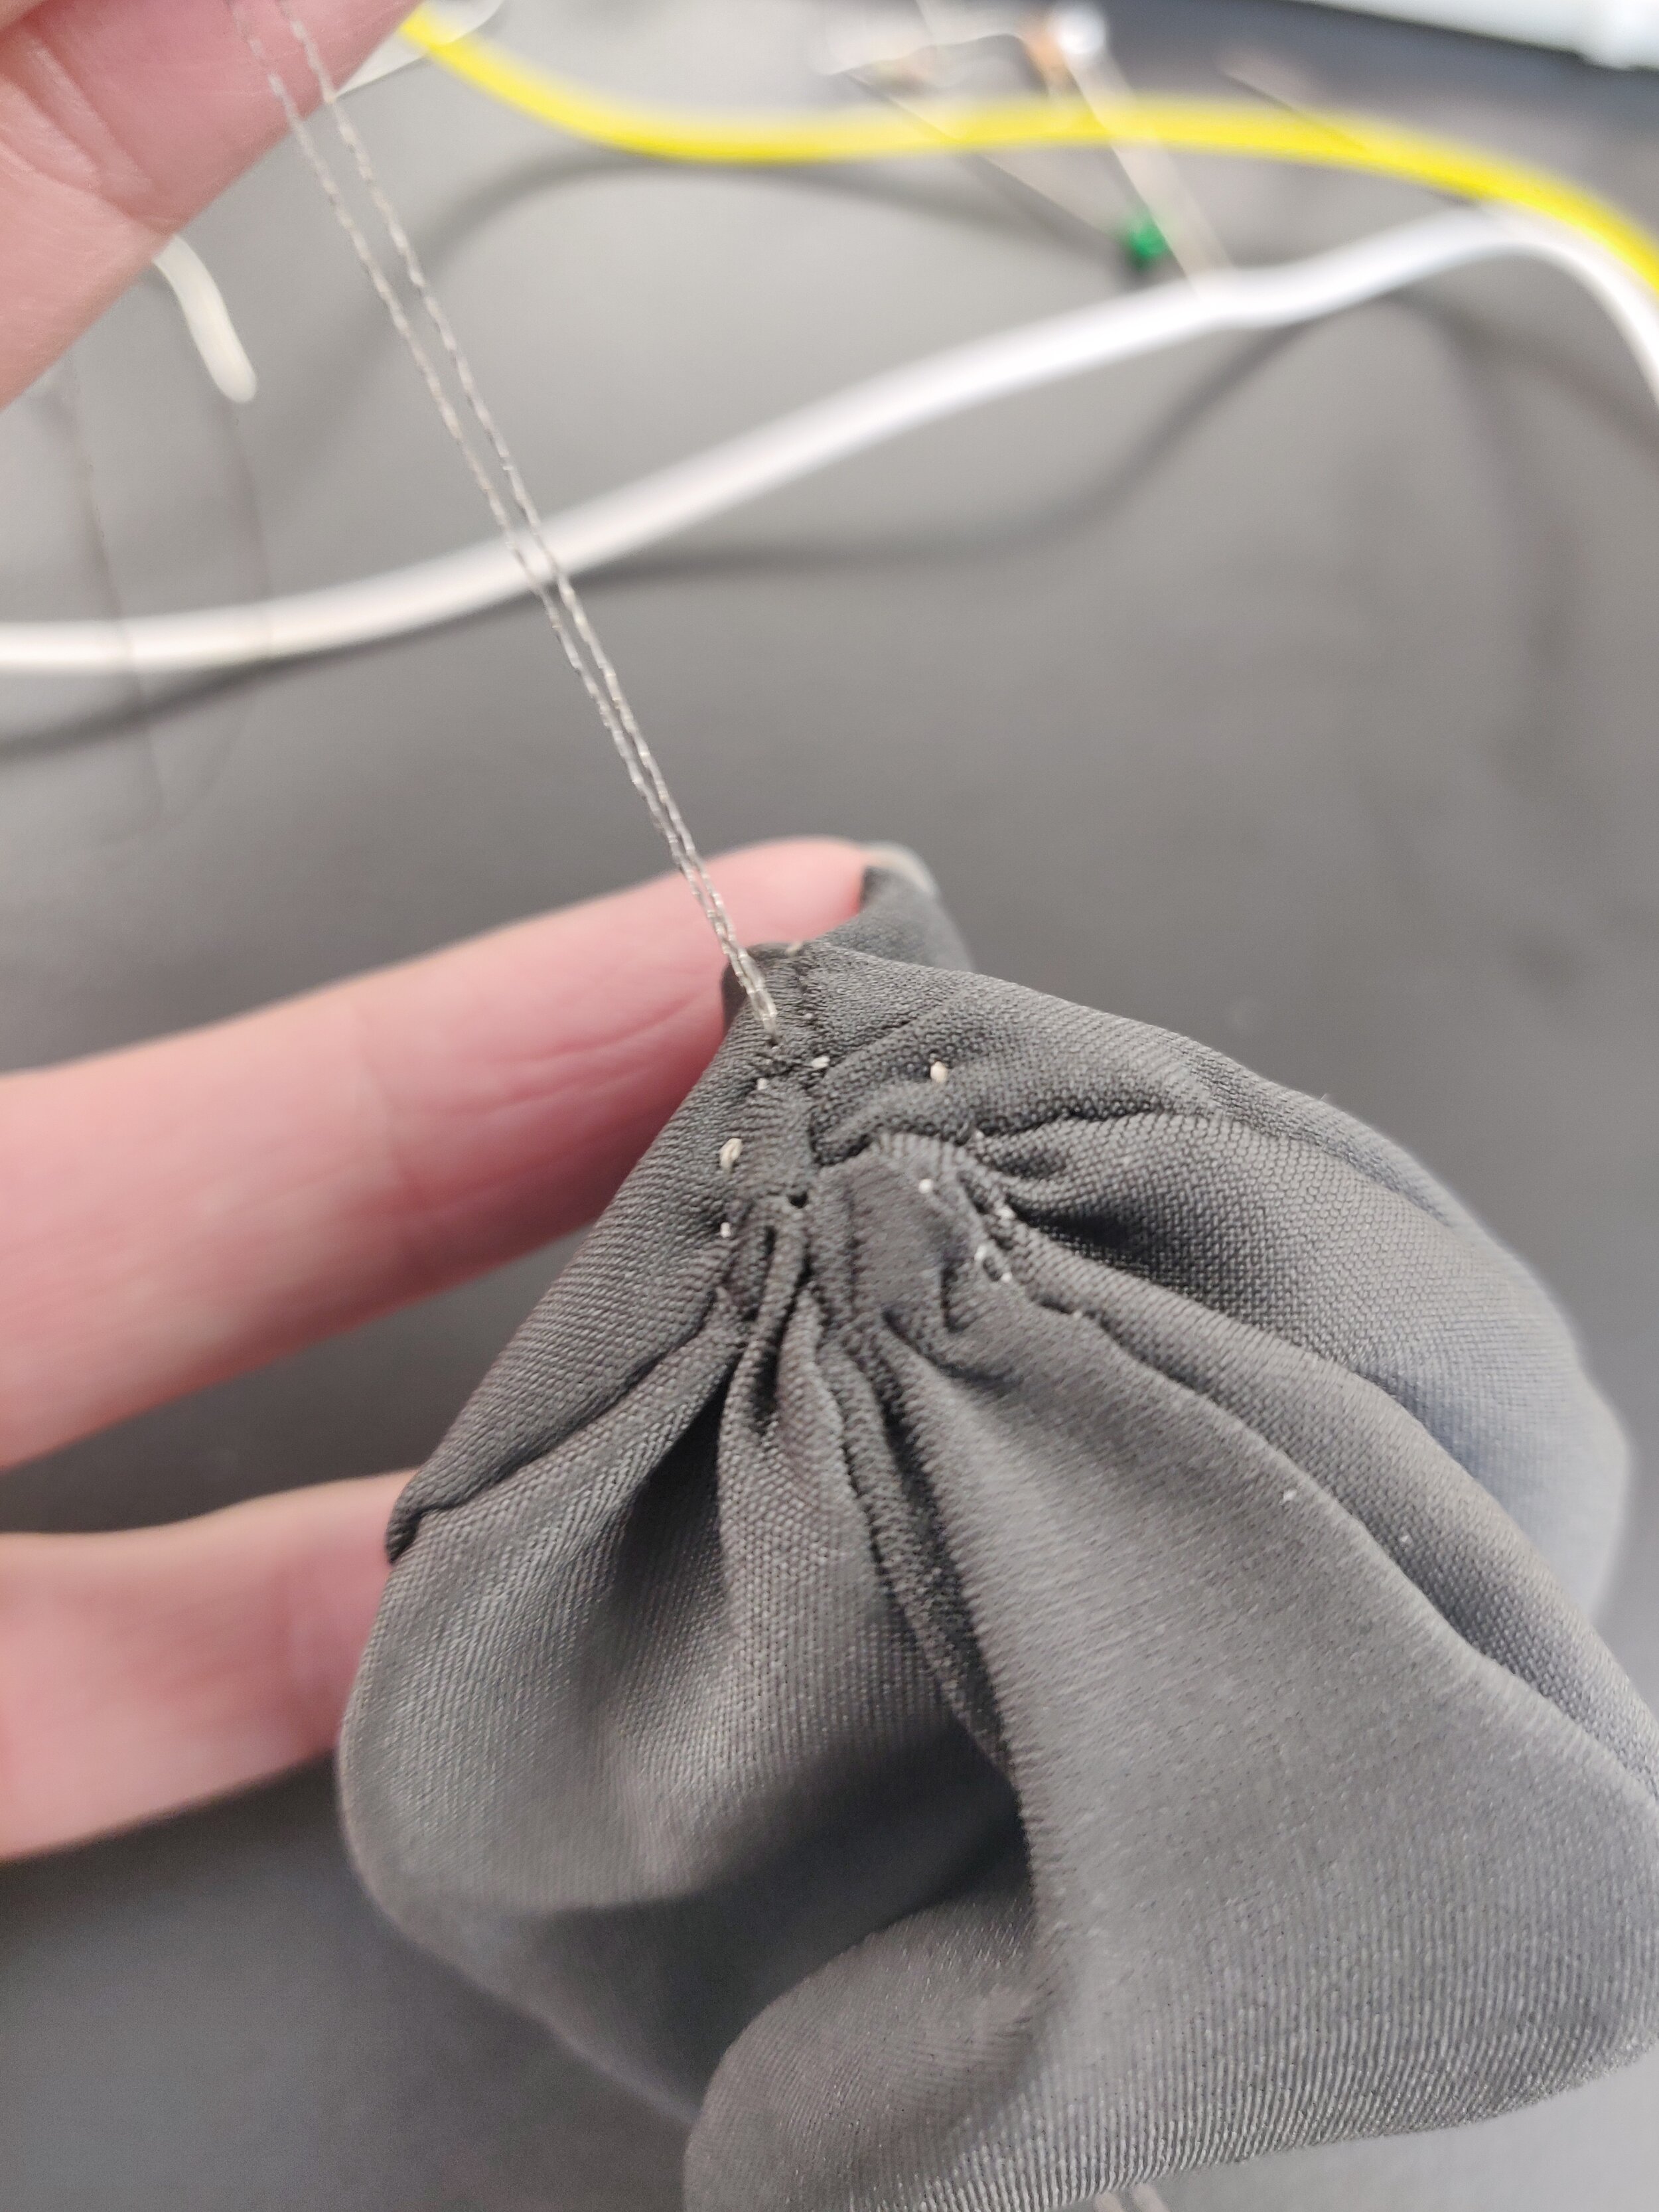
For this prototype I started by finding a pattern for the sphere and how to cover it in fabric, I used some template that I found online and followed it first with felt so that I could practice and make sure that the dimensions were correct.
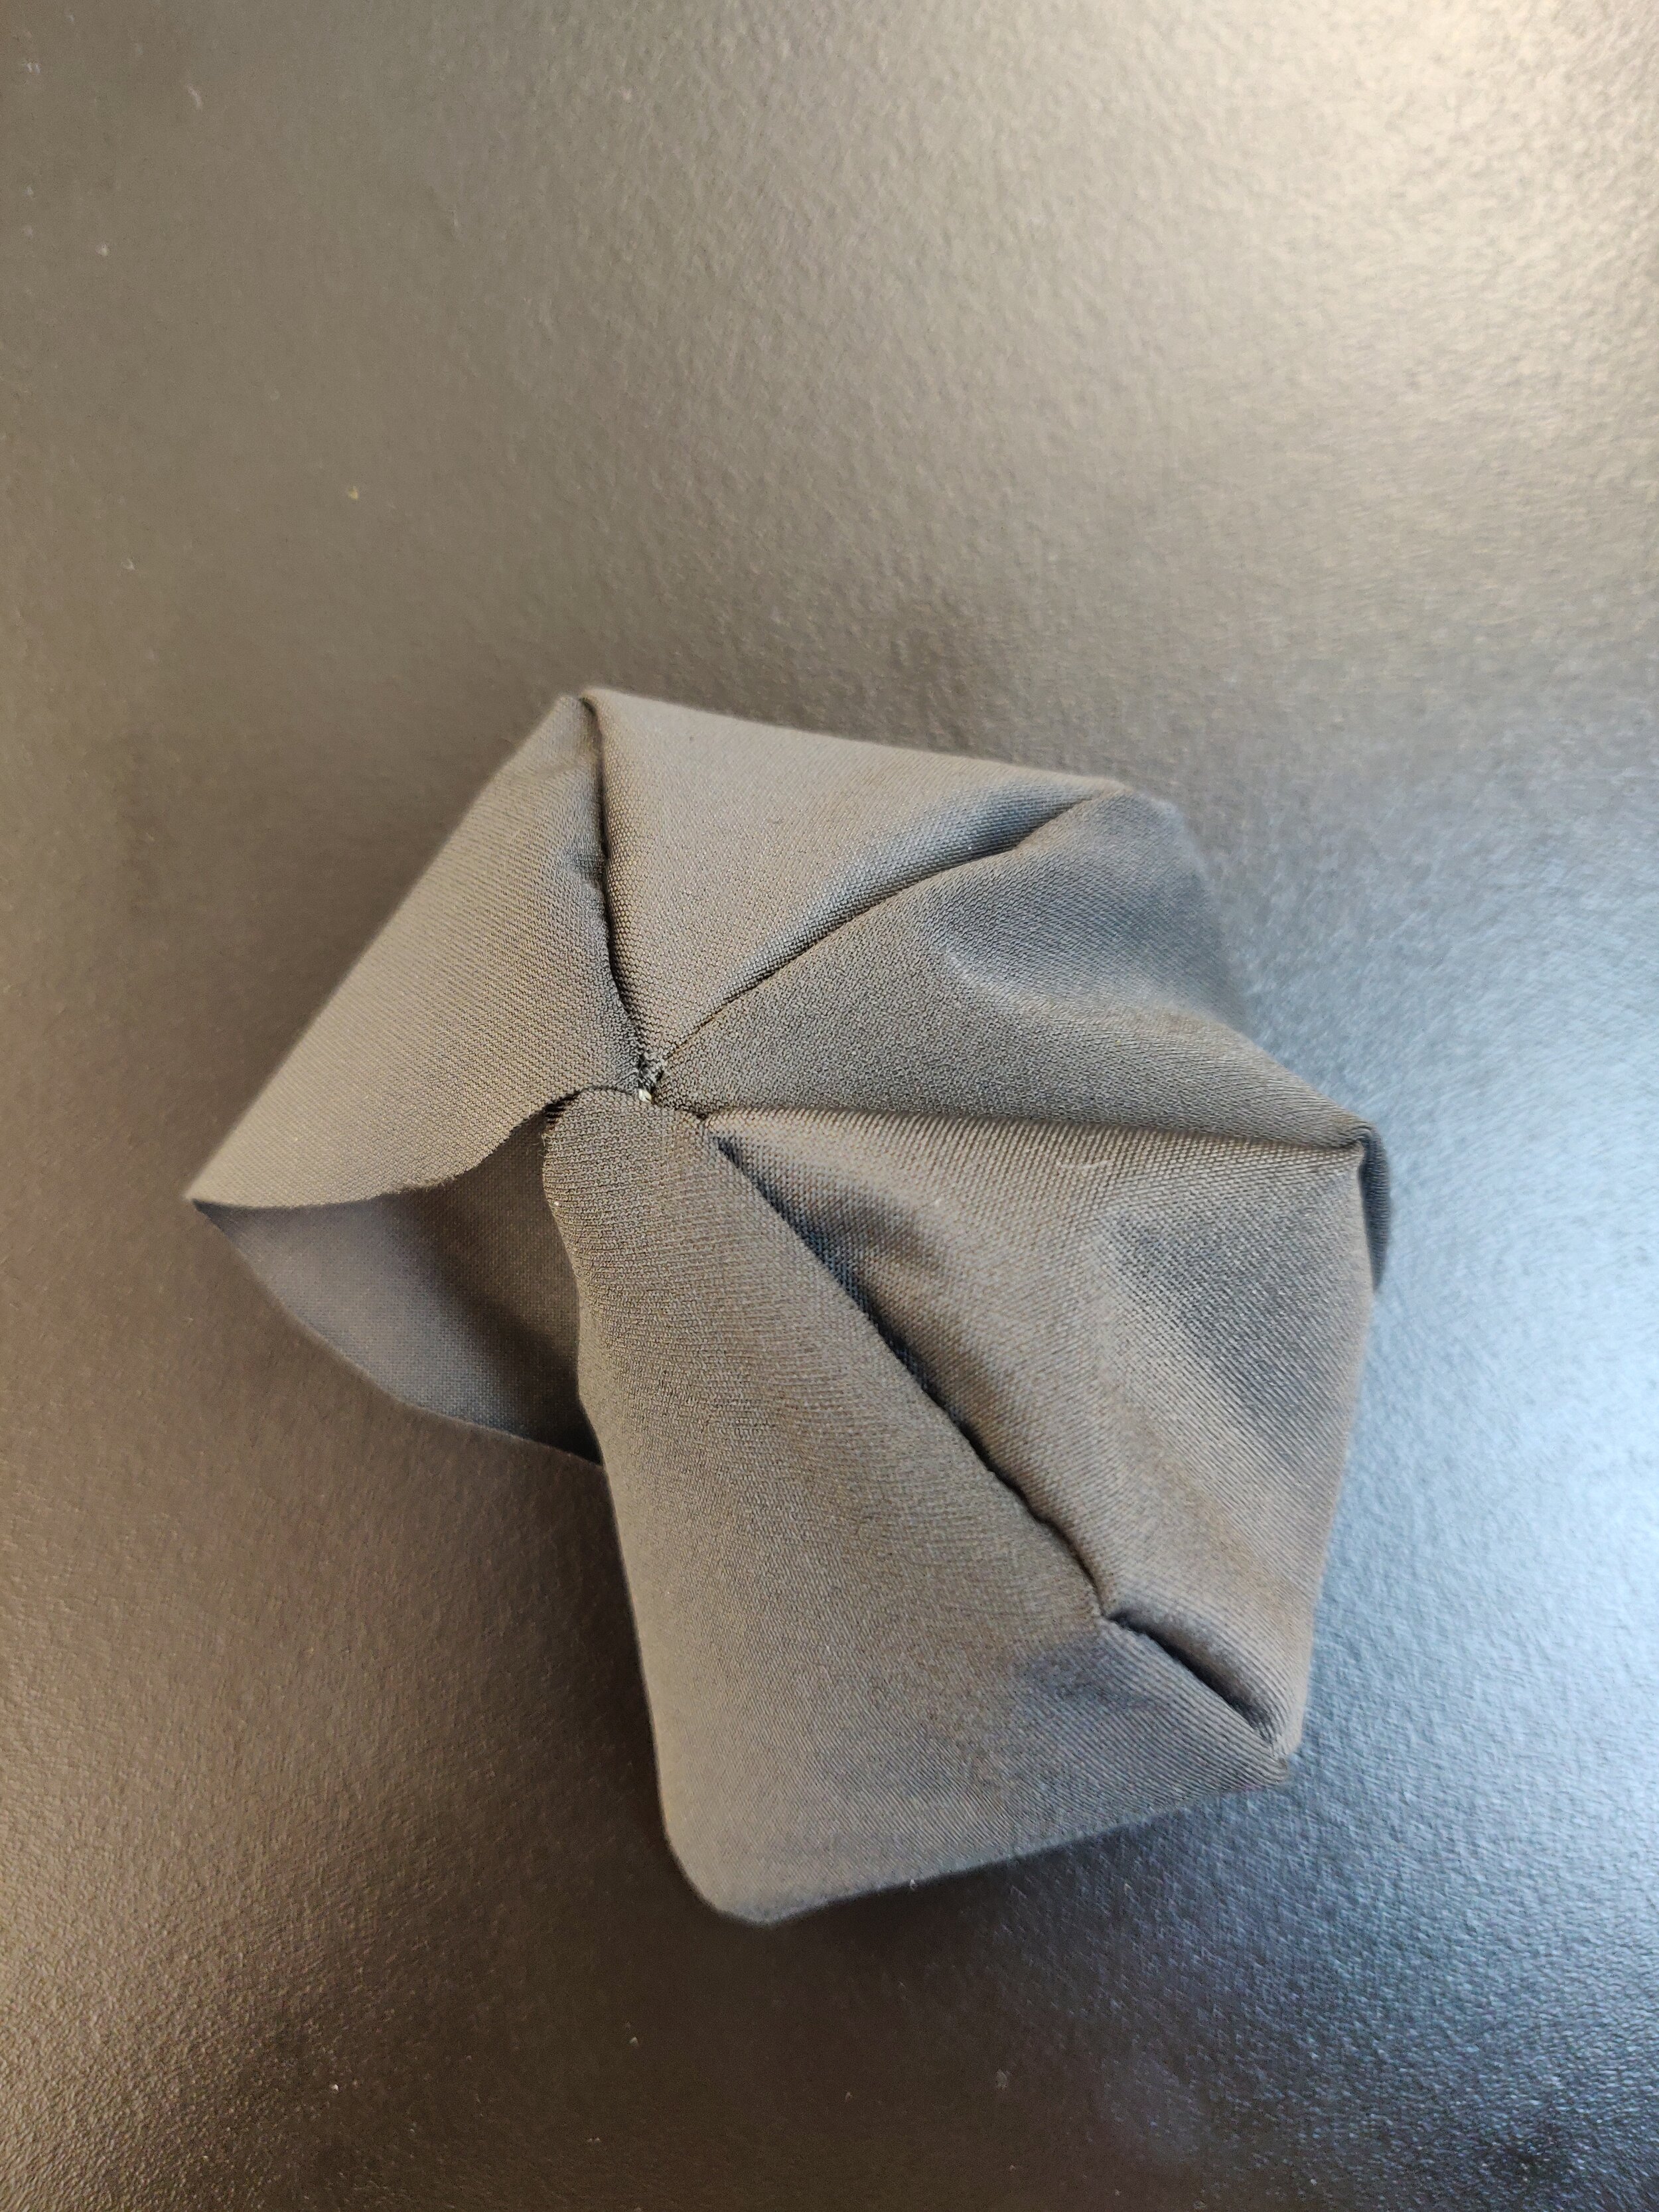
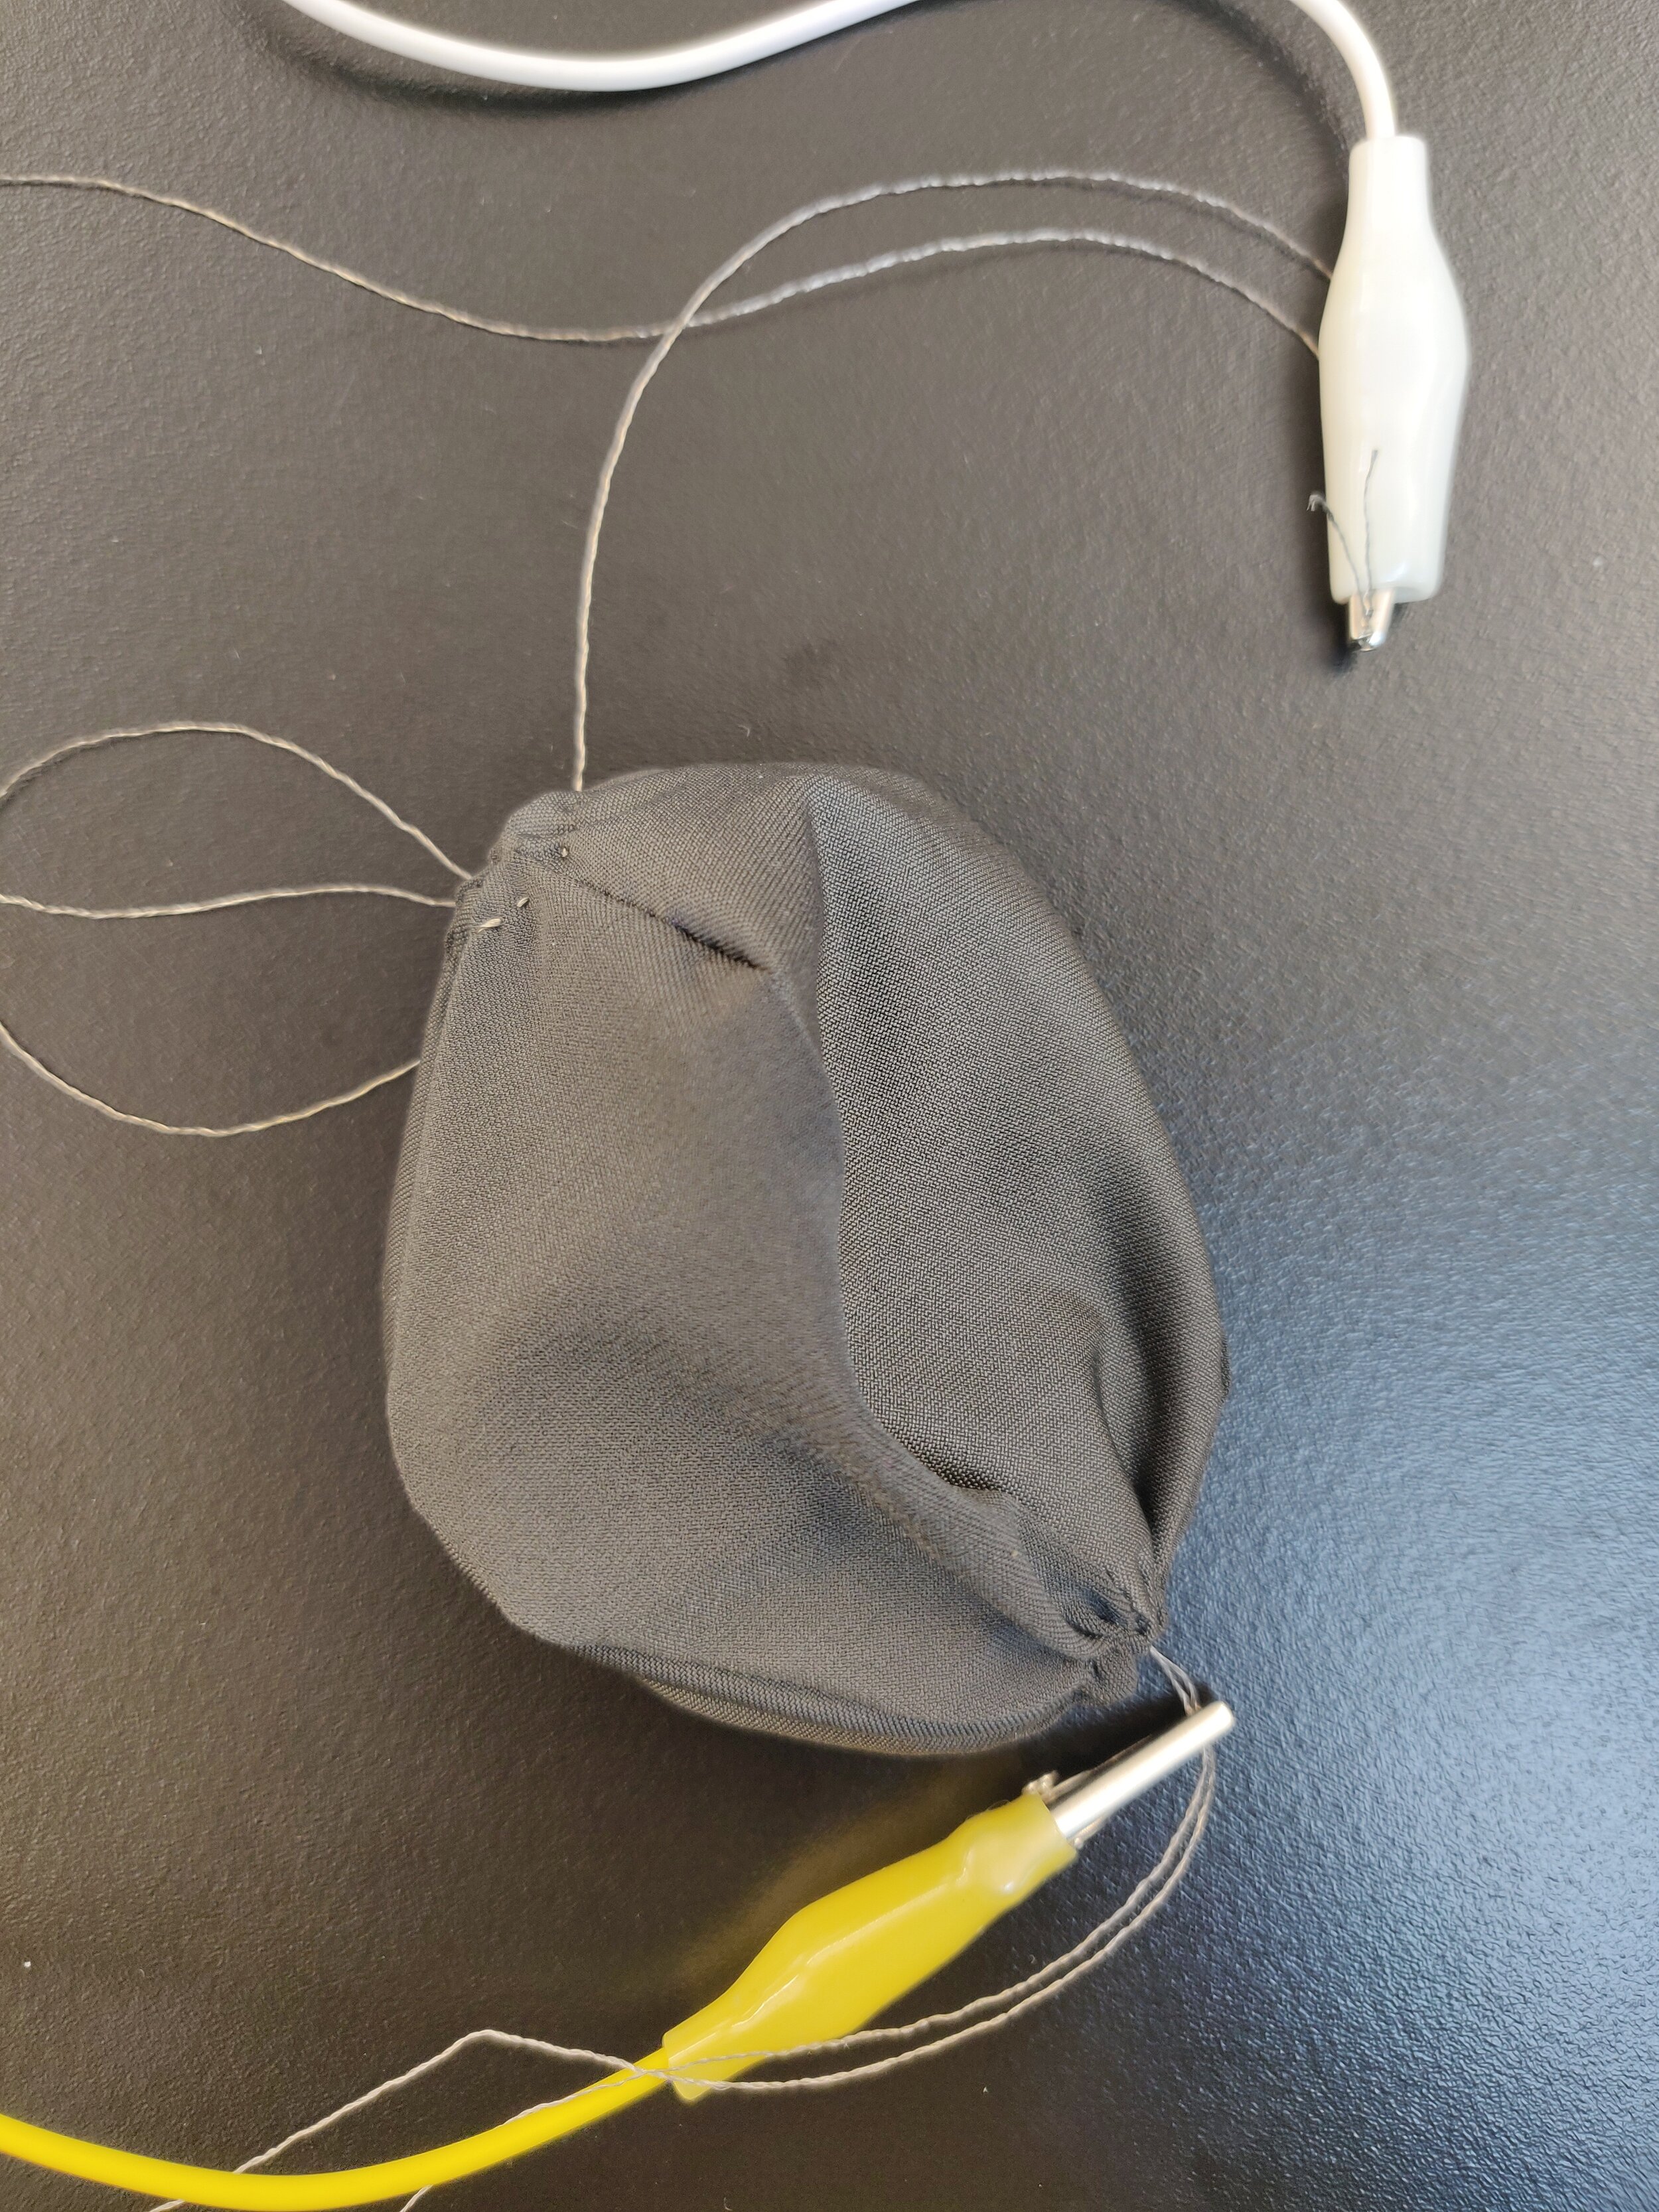
The next step was to produce the same cover but this time with resistive fabric in order to generate the equivalent of a pressure sensor. I had to sew a small circle with conductive fabric in order to be able to collect the values in each side of the sphere and connect it to the alligator wires in order to send the values to Arduino.
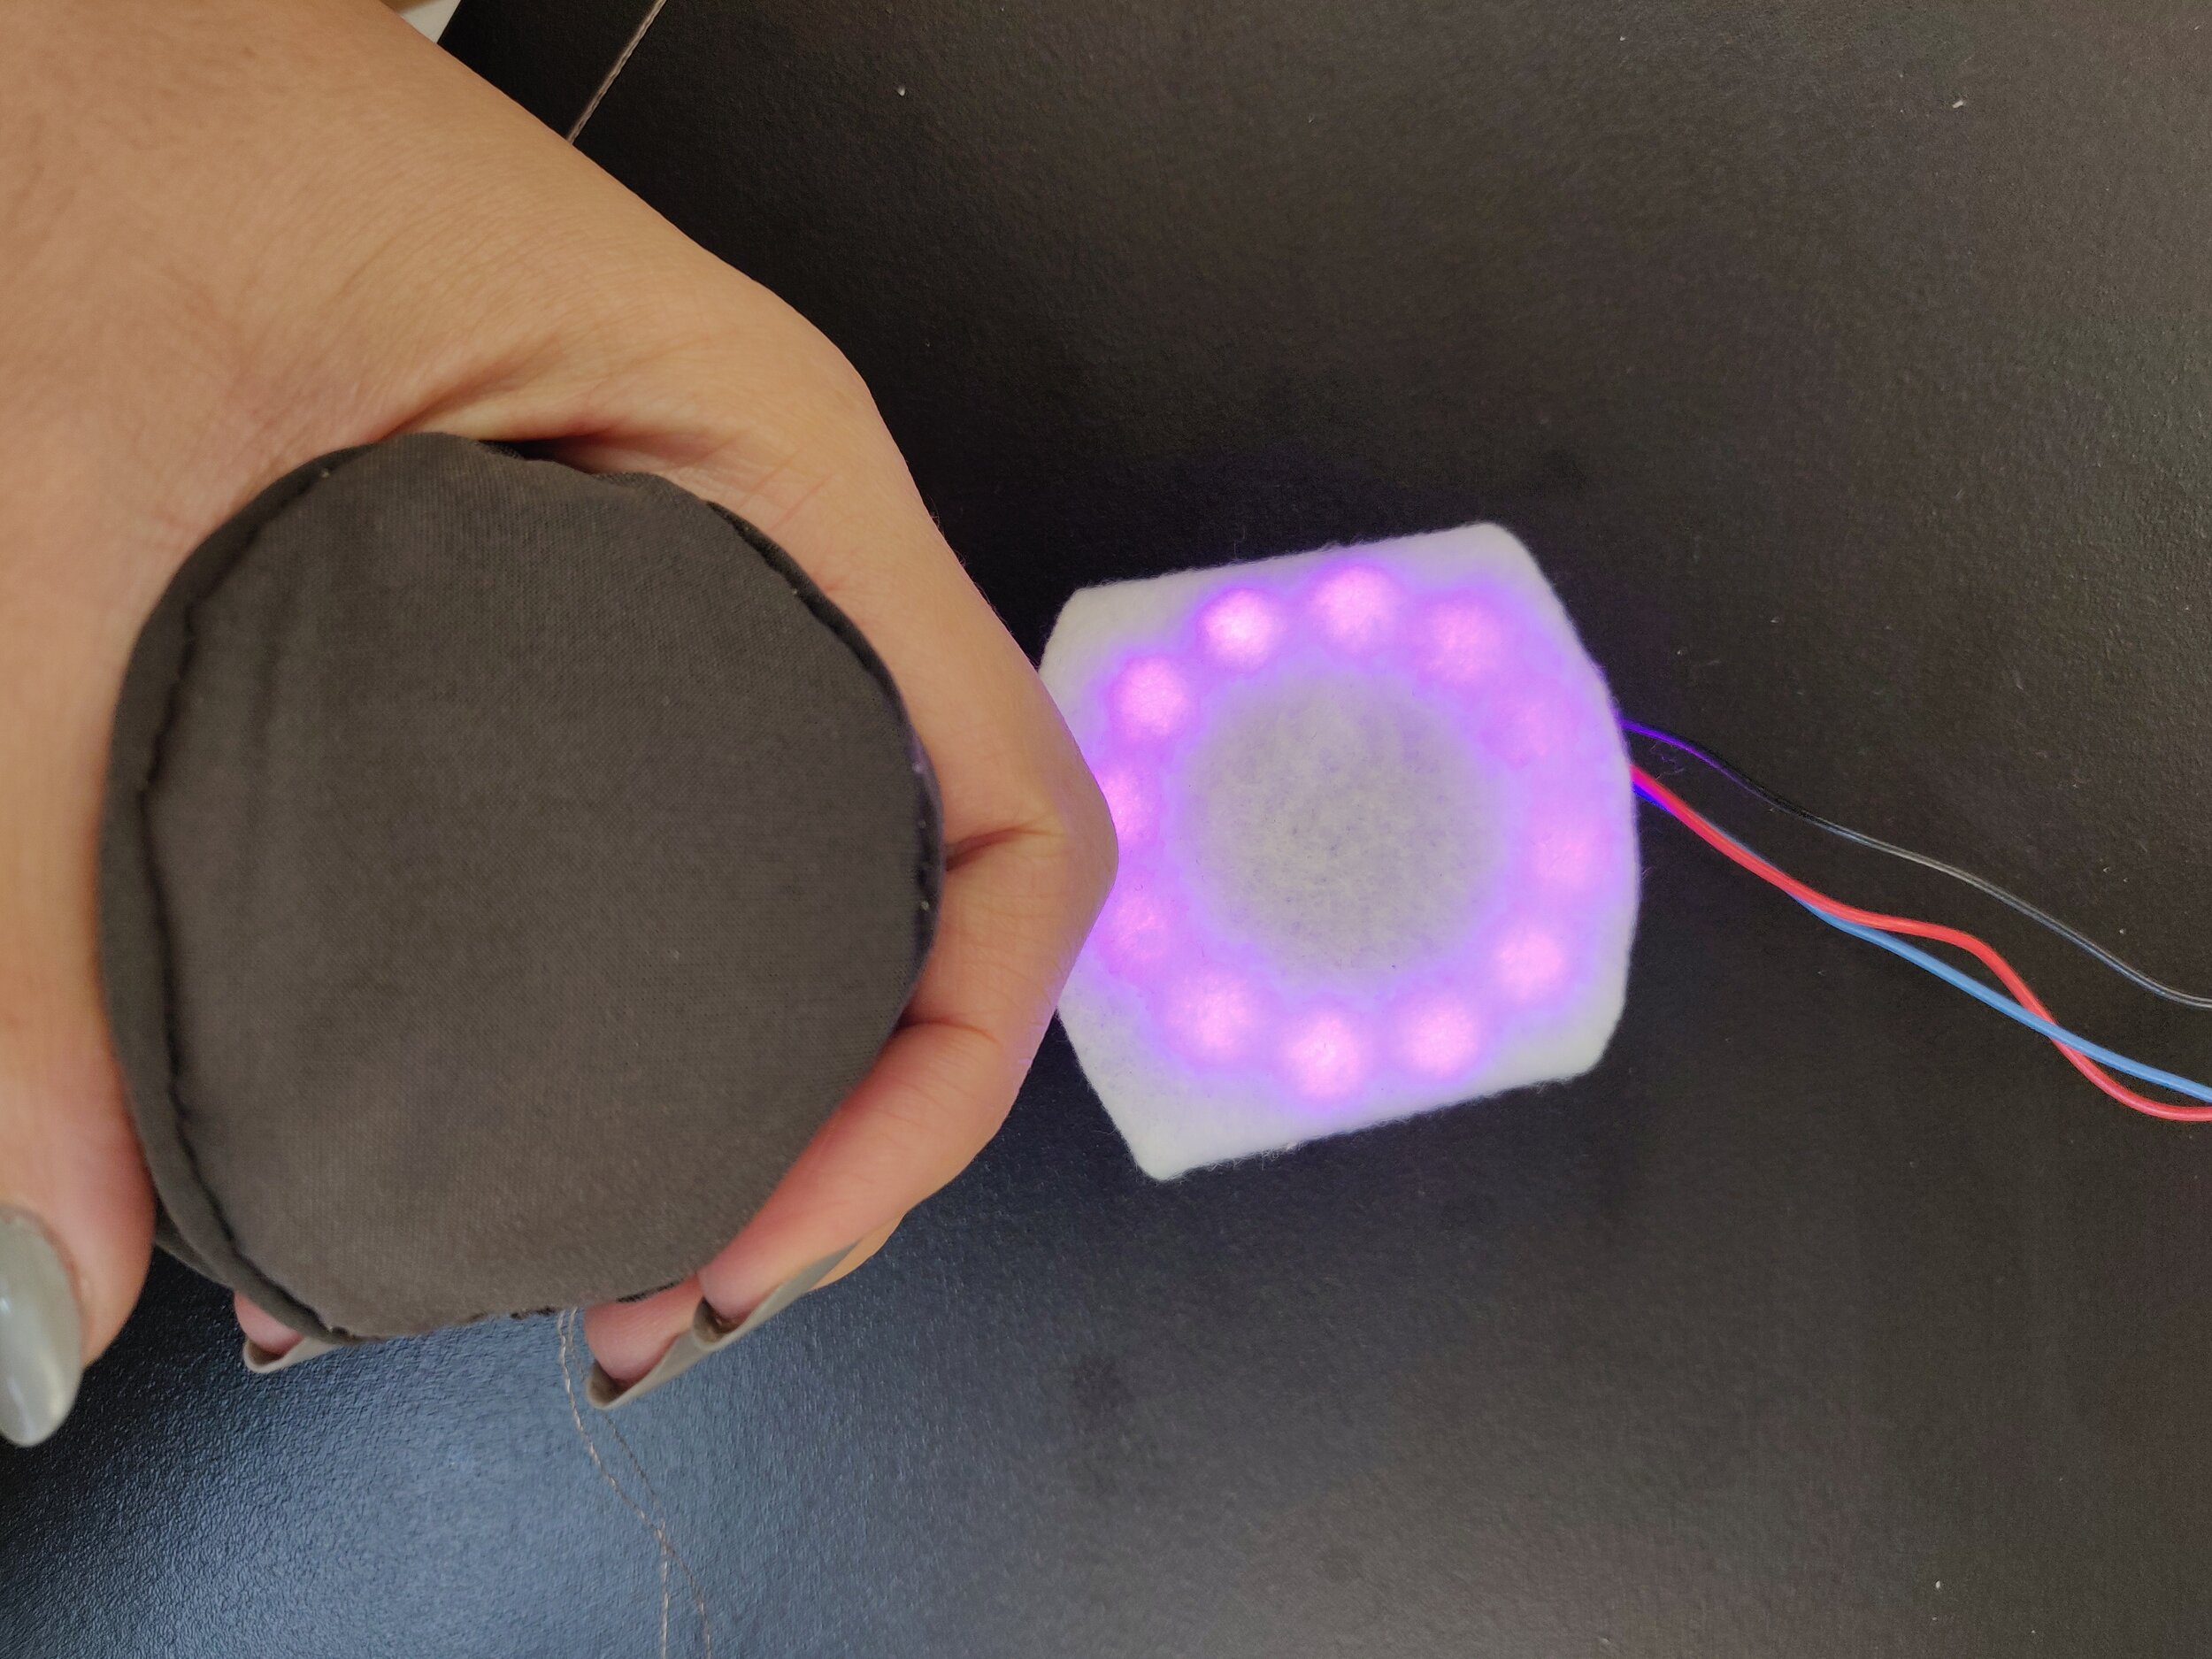
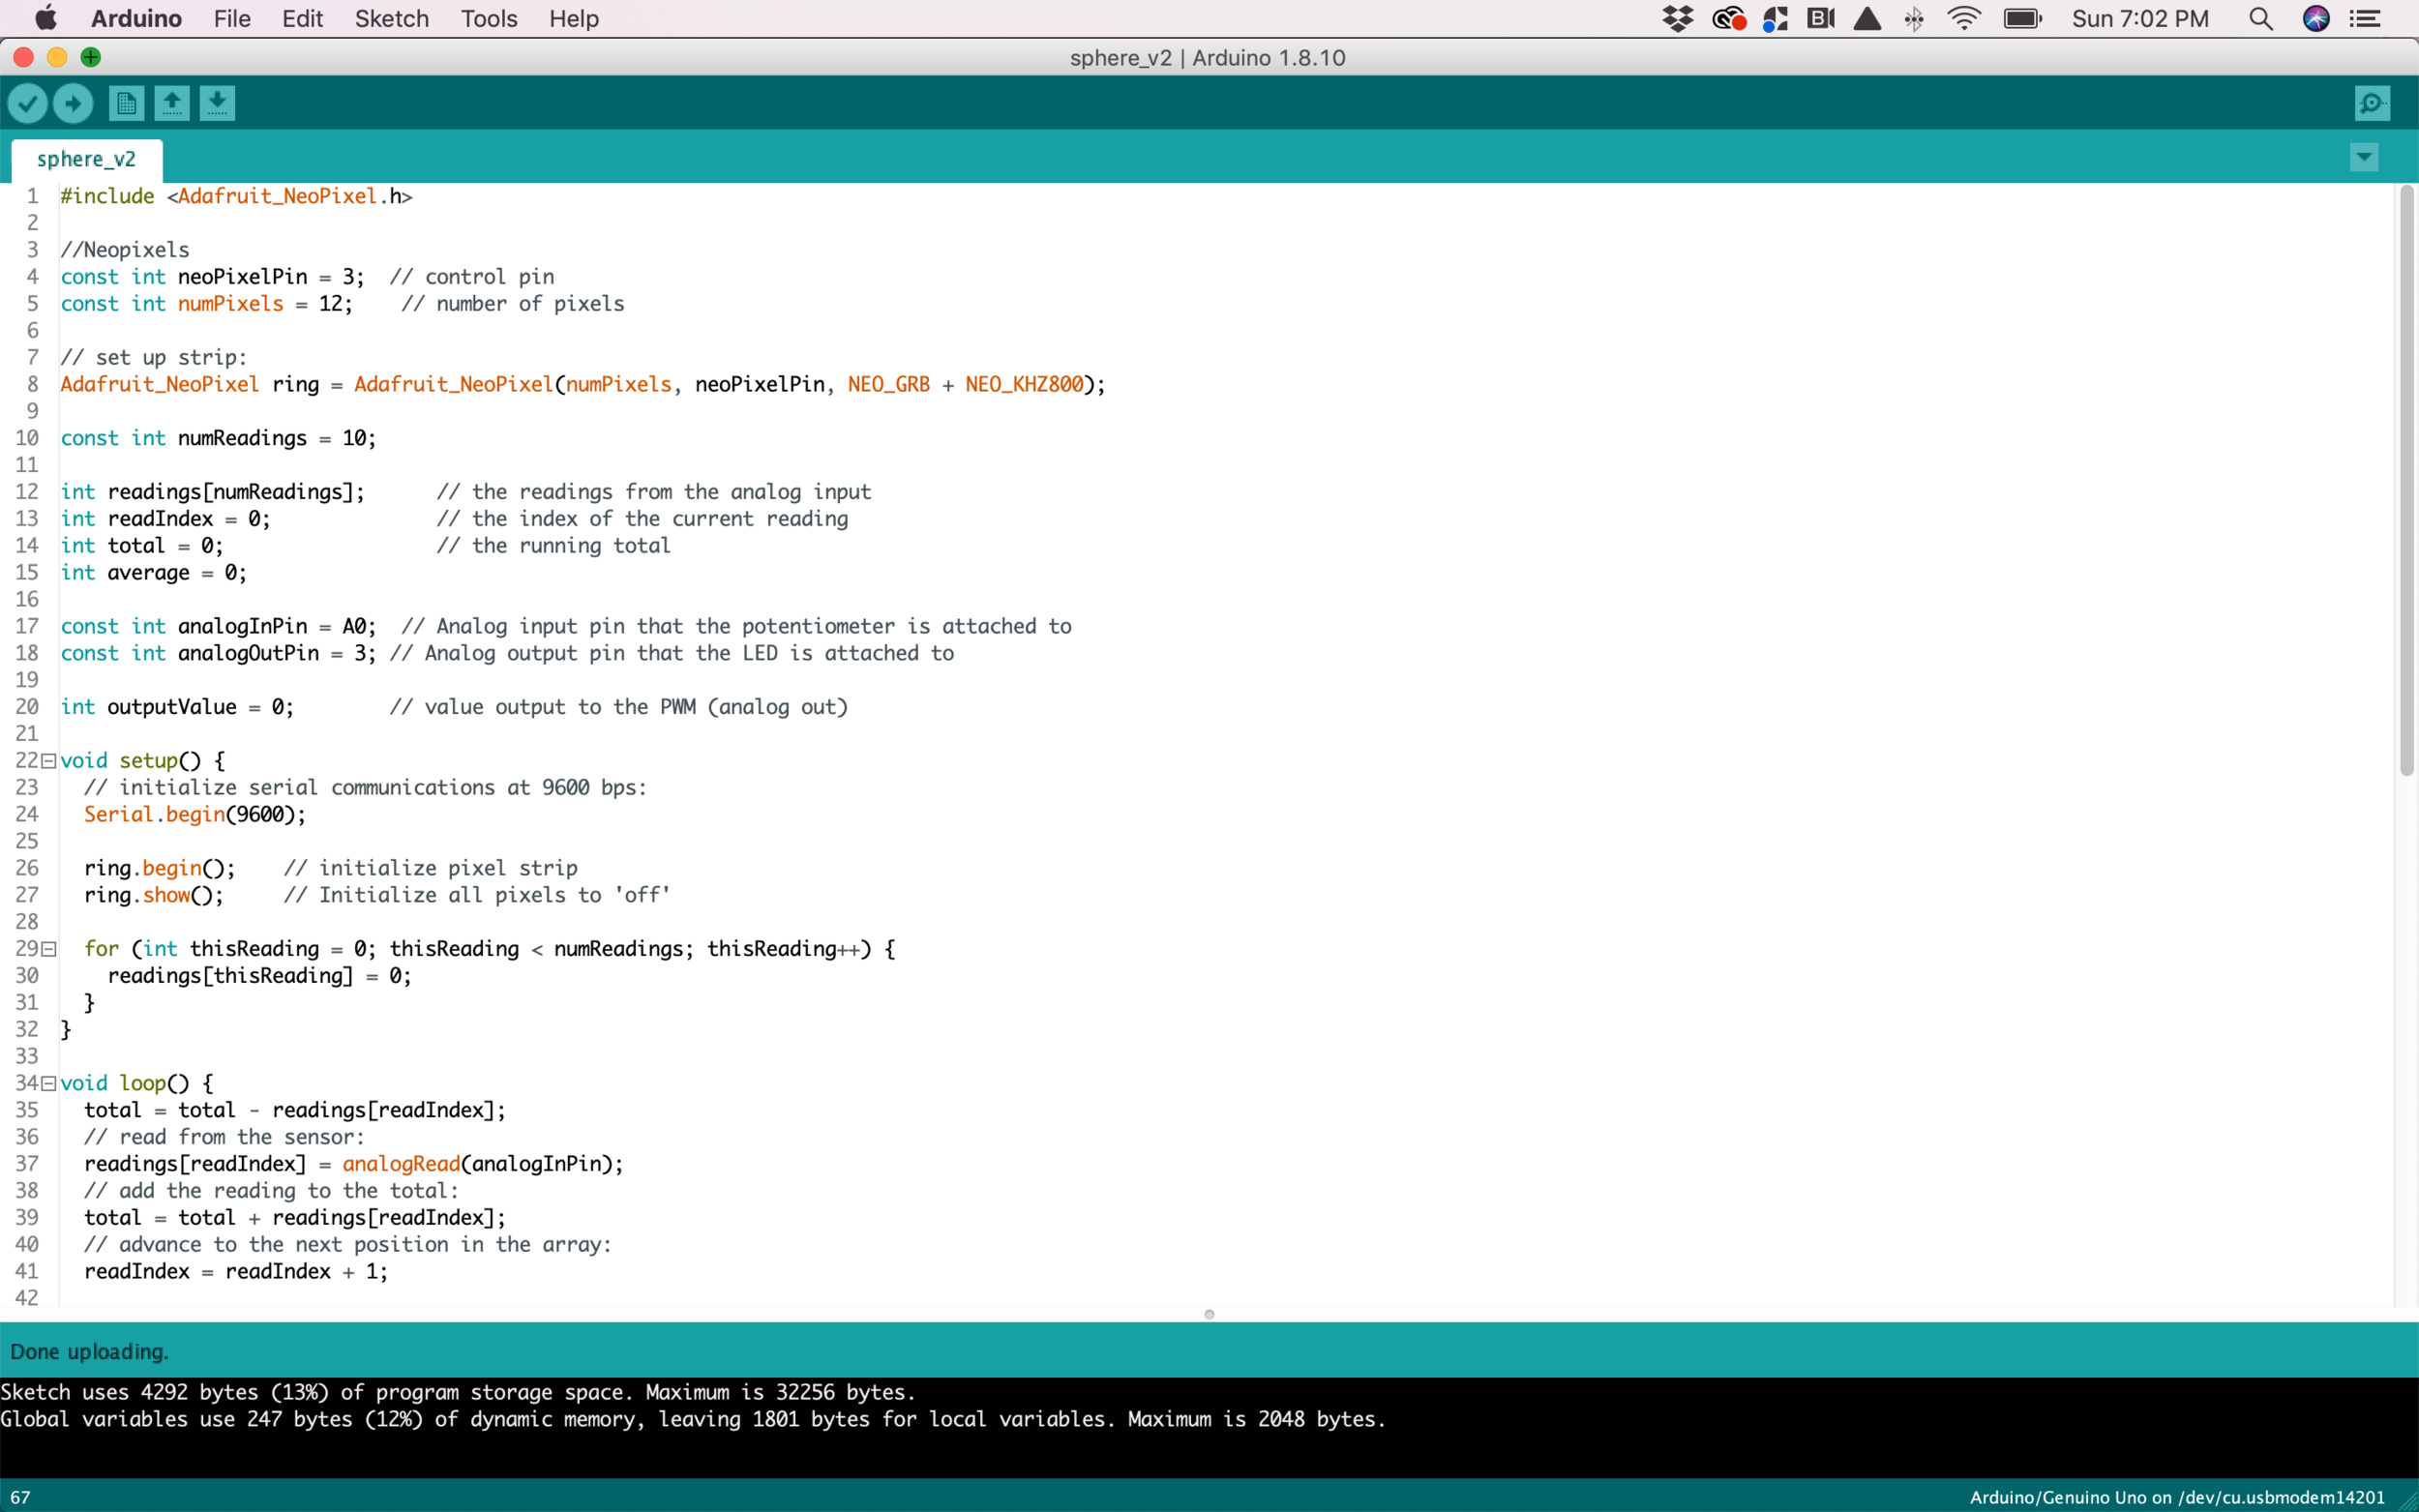
As a final step I added an LED ring in order to use it as my variable interface, and map the values that I was receiving from the resistive fabric and convert those values into brightness. I had to use the smooth functionality in order to have a more stable light and brightness value in the mapping which allowed me to brighten the LED ring when the pressure is higher and decrease the brightness when the pressure is lower.
The final result is a stress ball interface that changes the luminosity of the lights according to the way that the user is squeezing the stress ball.

