The following is a documentation of my first week work with p5.js. I have worked with code before therefore I thought I knew what I was doing (but maybe I don’t). I watched the first two videos and then I was too impatient to continue so I decided to jump right into the coding.
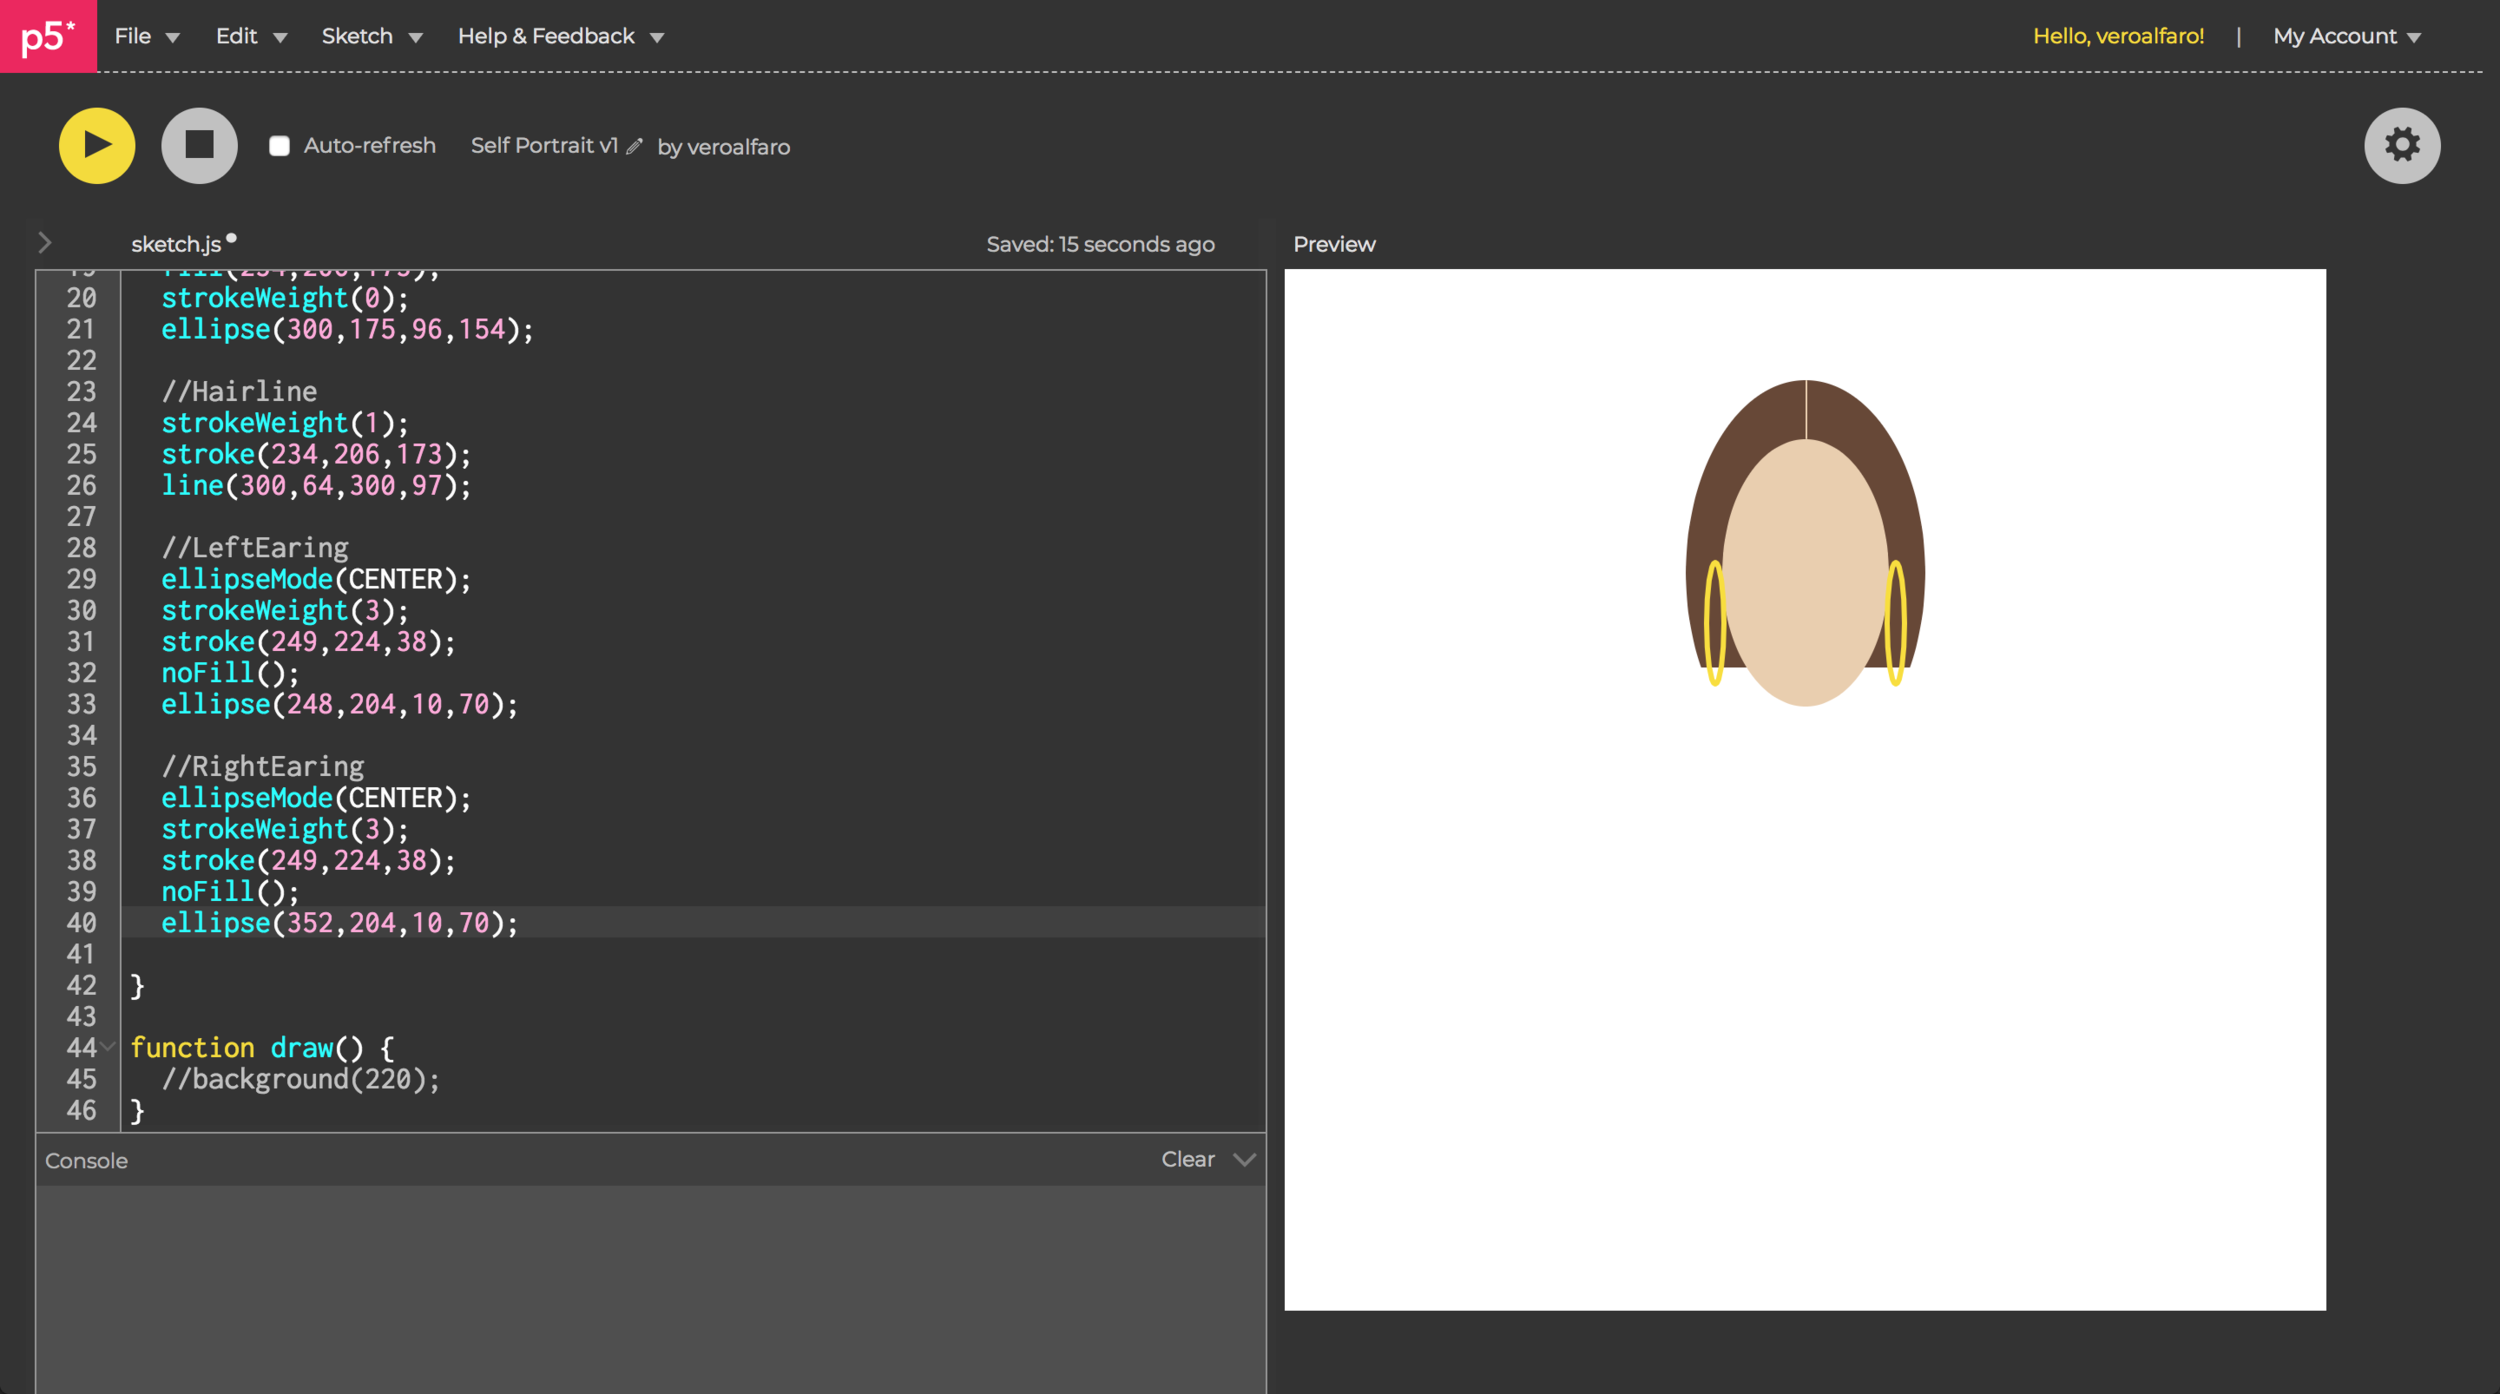
Since I am used to be the design person and give instruction to developers in my previous jobs, I knew it was better to start with the design, so I did some research or benchmark on self portraits that people have done with the tool before, so that i would have an idea on what was possible. After that I decided to design a very basic self portrait, starting with my face and its shapes.
First attempt to generate the face’s shape.
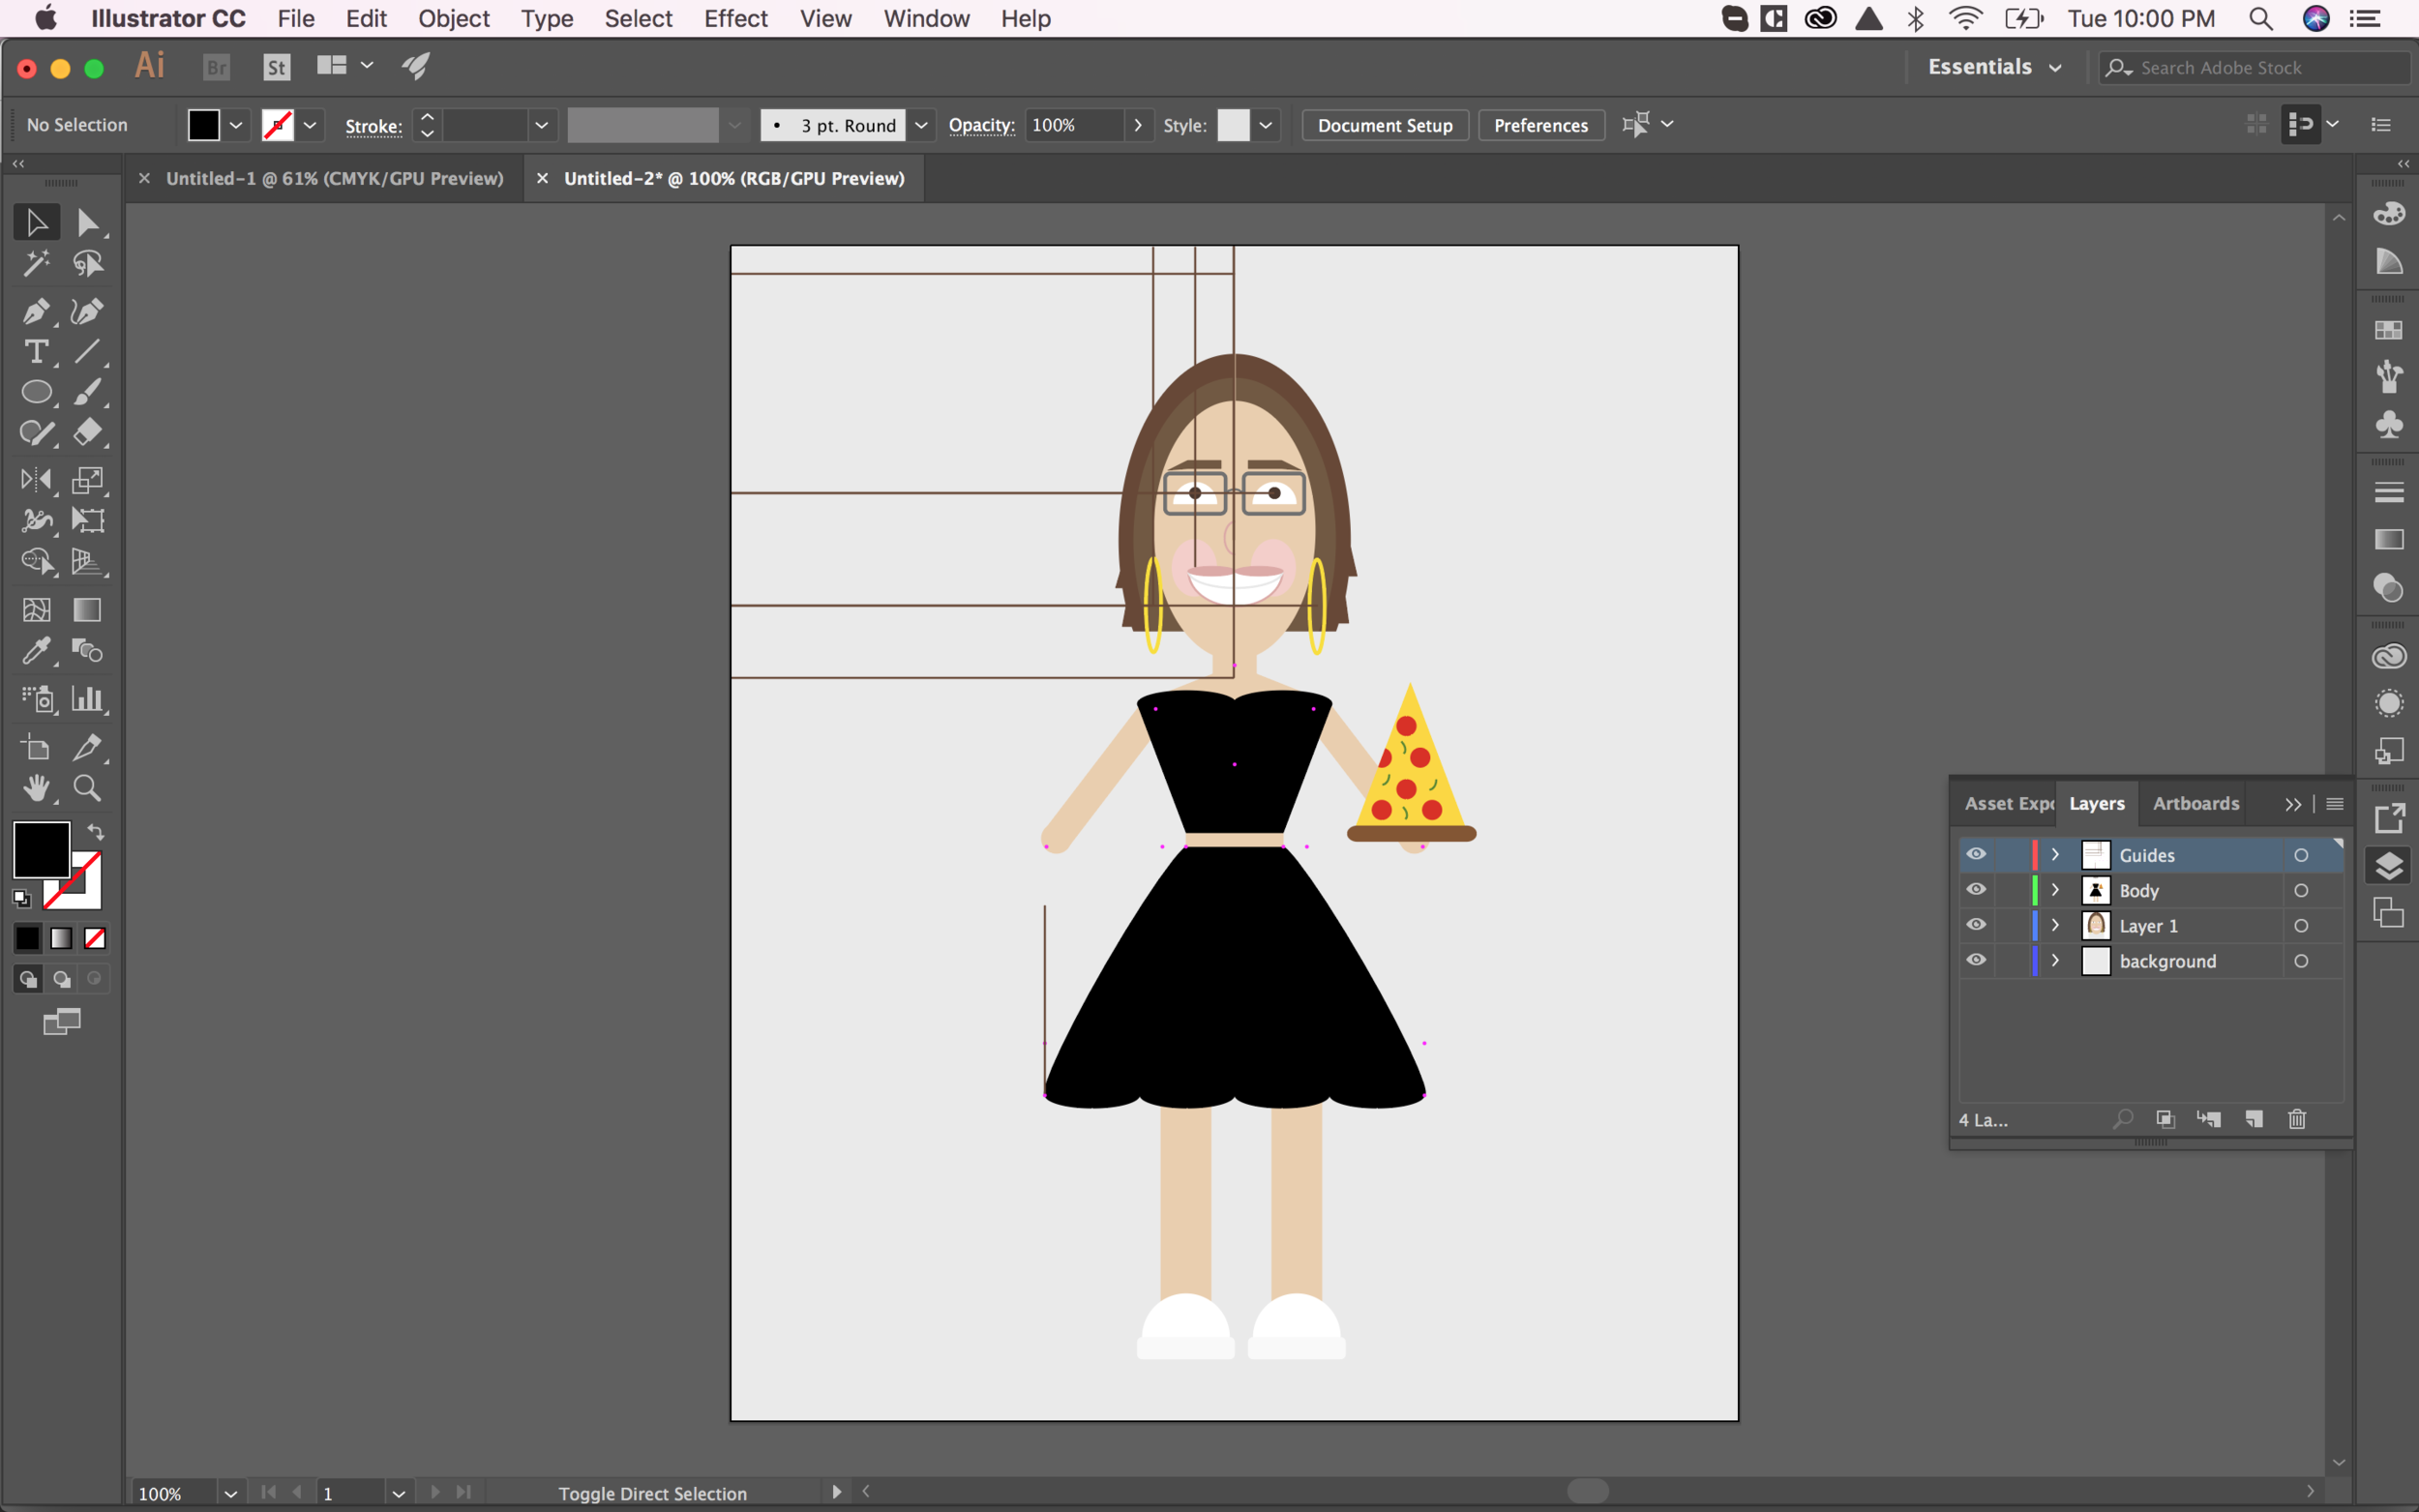
After a while of being wondering around and exploring the syntax I was able to define a good process, I created the same canvas in Adobe Illustrator so that I could have a better idea of the position in “x” and “y” of each element, as well as its dimensions, color and stroke attributes. That didn’t mean I didn’t have to tweak some details once the draw was generated in p5.js (I now understand why the developed websites that I used to design never looked exactly as I wanted them to).
Very “ambitious” design in Adobe Illustrator.
Moving on, I decided to select the basic shapes that would contribute to the week assignment and focus on them. The progress of generating the shapes was good, however it took me more time than I expected.
More detailed face.
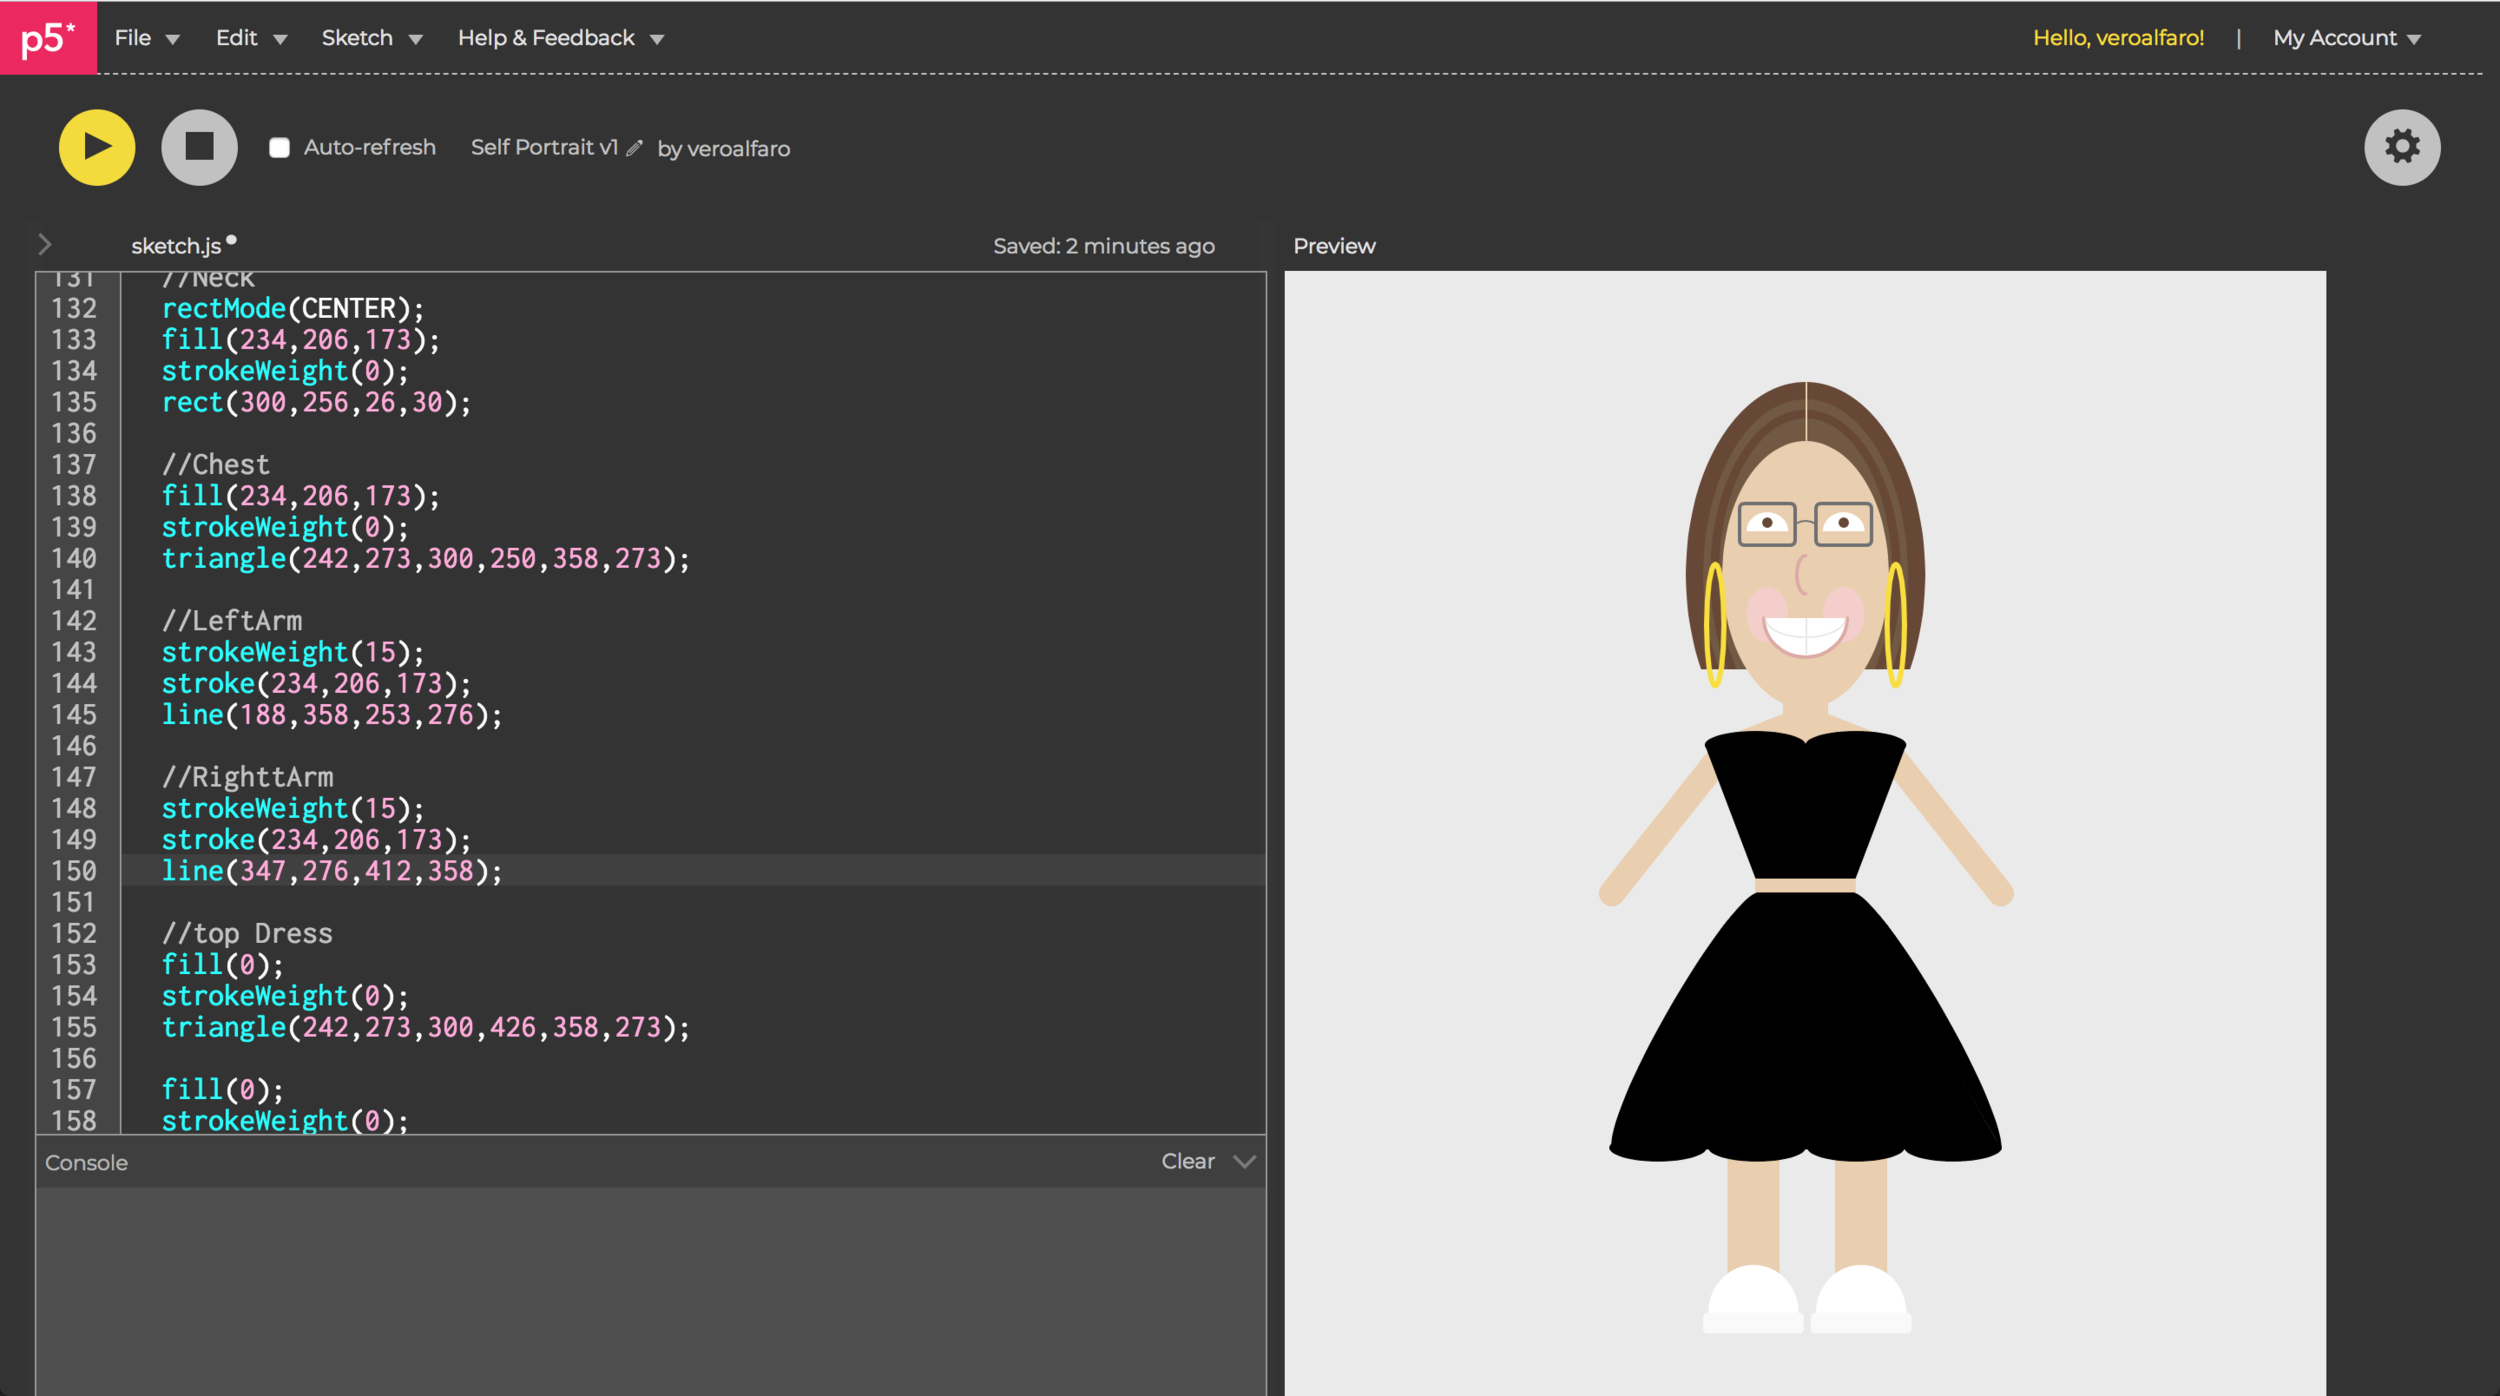
For the body I decided to challenge myself by using “bezier” to generate some of the curves of the dress, since I have already explored some of the most basic shapes, Illustrator ended up being a great help because I could measure the location of the anchor points, which was the most challenging part of using bezier curves.
Full body developed in code.
Overall I enjoyed the first assignment even though it definitely took me more time than what I was planning on spending. This is for sure a lesson for next week’s assignment and I would like to be more fluent in p5.js.


